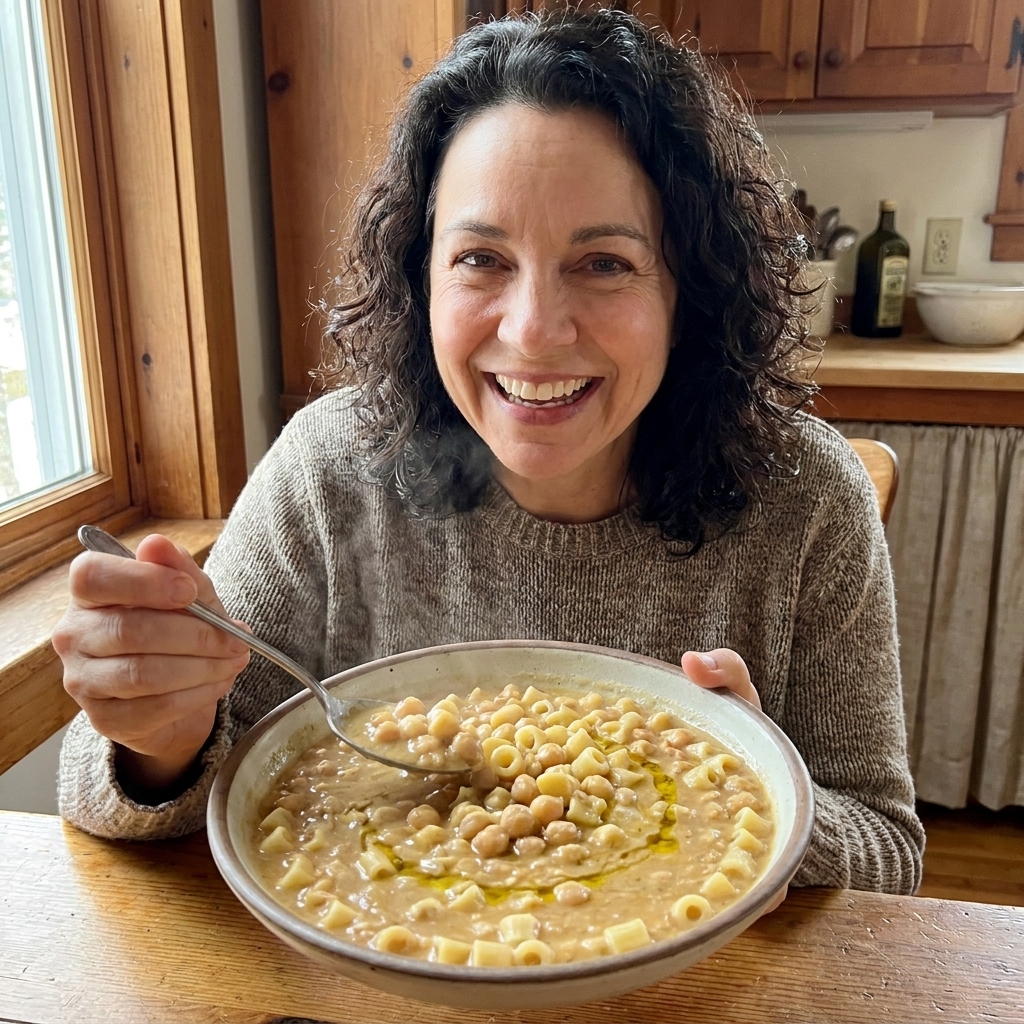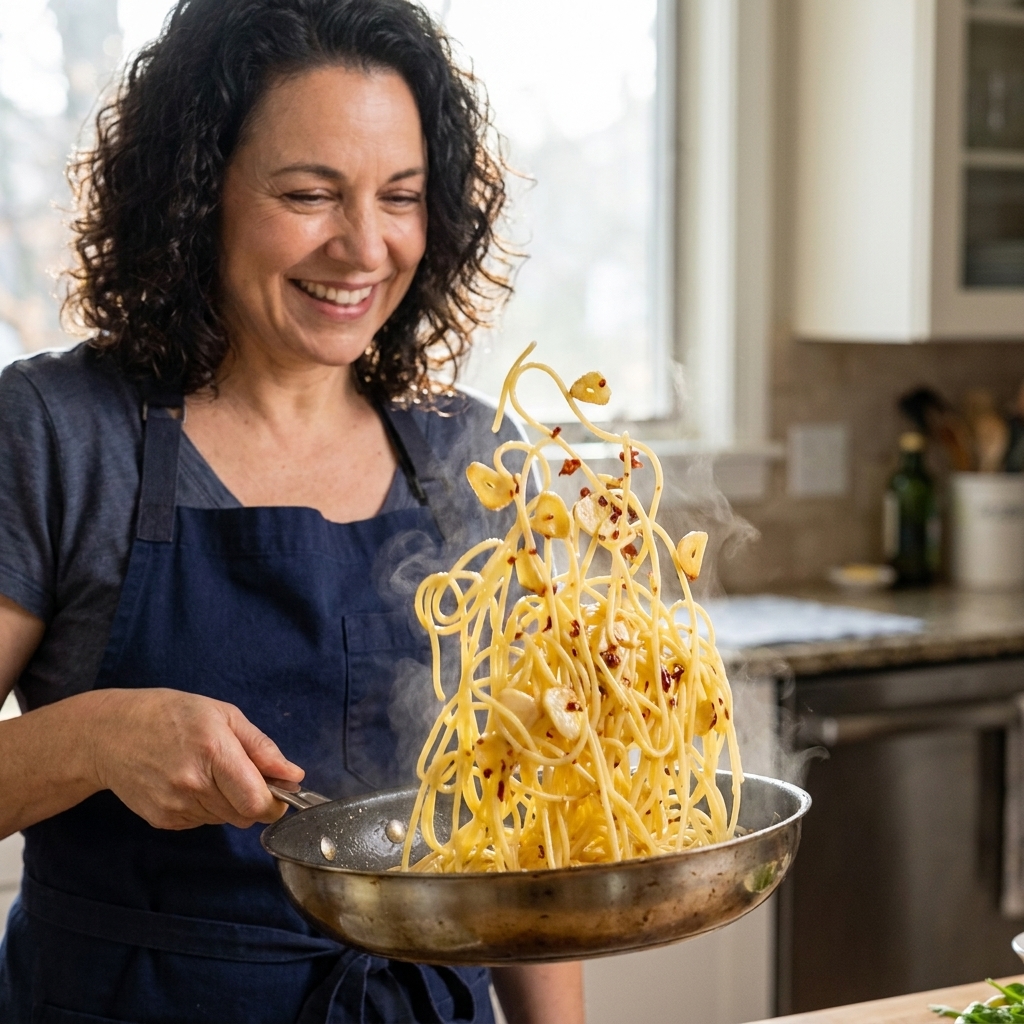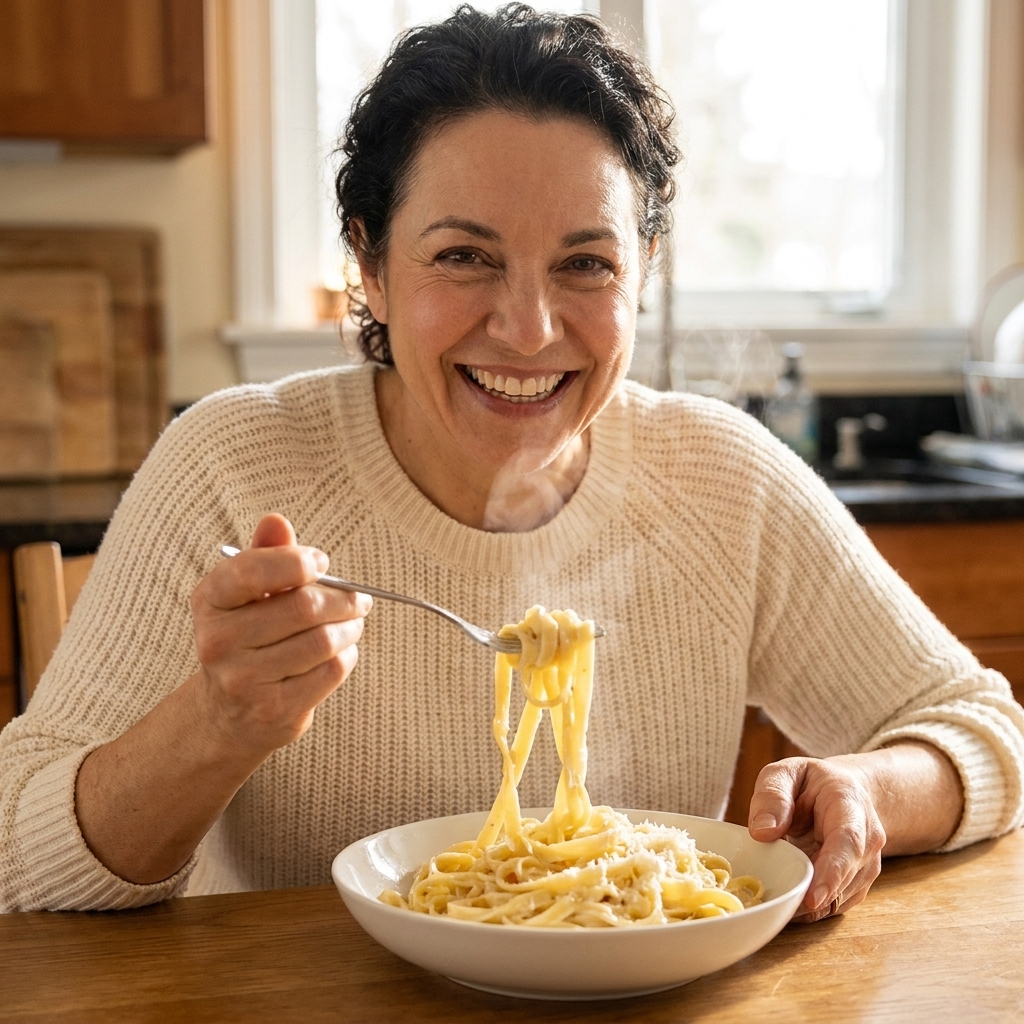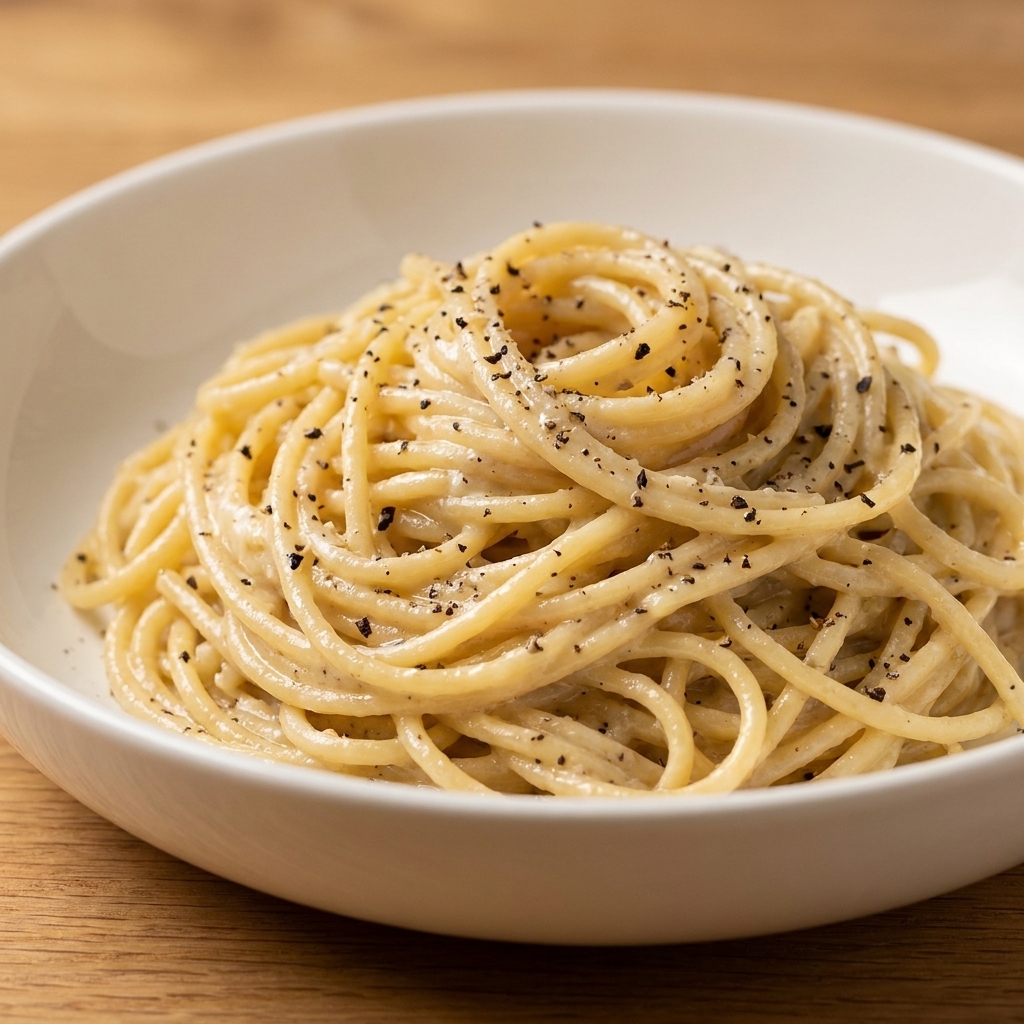
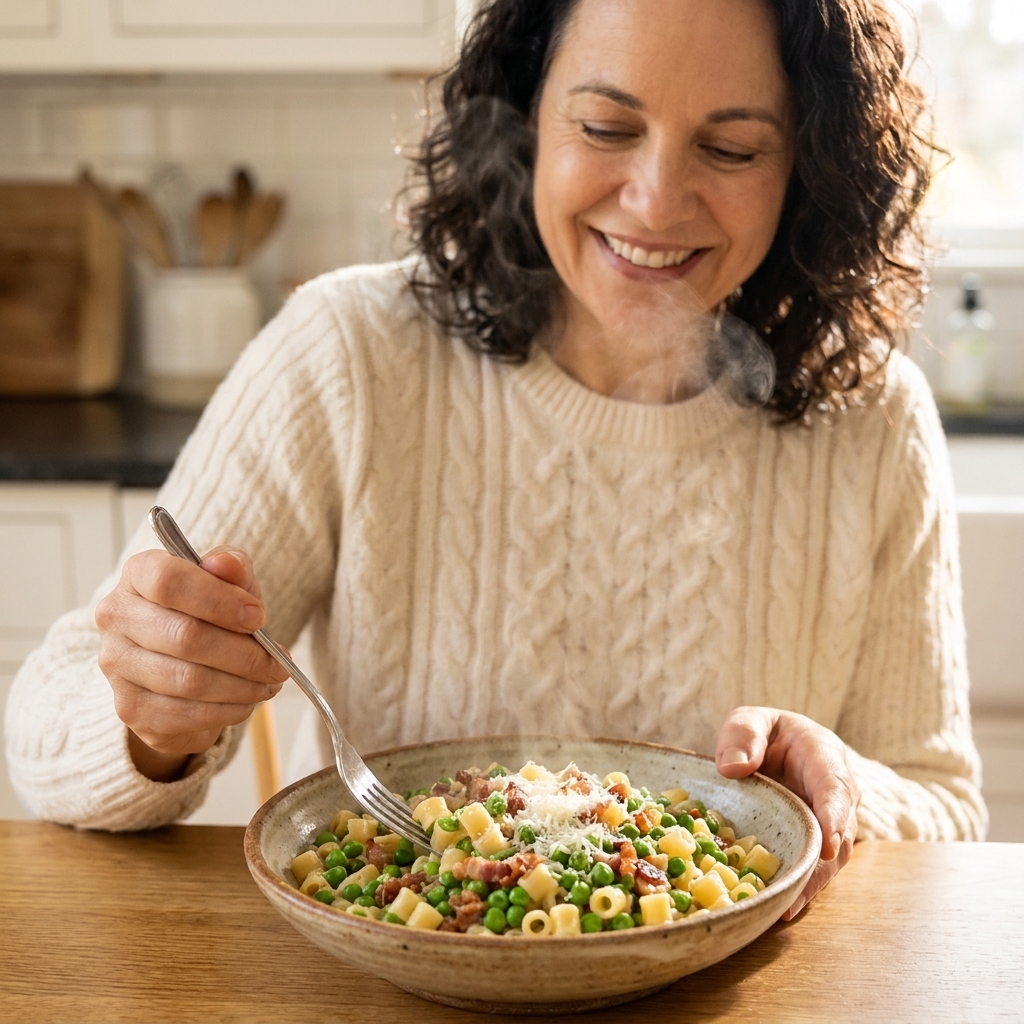
Pasta e piselli is one of those humble Southern Italian dinners that tastes like more than the sum of its parts. You have sweet peas, salty pancetta, a little onion, and that starchy pasta water that turns everything into a silky, clingy sauce. It is cozy, quick, and exactly the kind of meal I make when I want something comforting but do not want a sink full of dishes.
This version is weeknight-friendly on purpose: frozen peas (my go-to), pancetta for depth, and short pasta so it cooks quickly and catches the peas in every bite. The best part is that it all happens in one pot, a method often associated with Naples and Campania, where the pasta finishes right in the broth so the sauce builds itself.
Why one pot works
If you have only ever boiled pasta separately and then tossed it with peas, you are missing the magic. When pasta cooks in the same pot with the peas and pancetta, the starch releases into the liquid. That starch is your sauce. You end up with a glossy, lightly creamy coating without adding cream.
- Better flavor: the pasta absorbs the pancetta and onion broth as it cooks.
- Better texture: the peas stay plump and sweet instead of turning watery.
- Less cleanup: one pot, one spoon, dinner done.
Ingredients that matter
- Olive oil: just enough to start the pancetta. Pancetta will render its own fat.
- Pancetta: diced. If you only have thick-cut bacon, that works too, it will be smokier.
- Onion: finely chopped so it melts into the sauce.
- Frozen peas: no need to thaw. They go straight in.
- Short pasta: ditalini, tubetti, small shells, or elbow macaroni. Anything small that scoops peas well.
- Broth or water: chicken broth gives extra savoriness, but many traditional home versions use water (and it is still delicious).
- Parmigiano Reggiano or Pecorino Romano: for finishing. Pecorino is sharper, Parmigiano is gentler.
- Black pepper: essential with peas and pork.
- Optional: a small knob of butter at the end for extra shine, or a pinch of crushed red pepper for warmth.
Salt note: go easy at the beginning. Pancetta and cheese bring a lot of salt, and the liquid reduces as the pasta cooks.
Classic pasta e piselli
Serves: 4
Time: about 20 minutes
You will need
- 1 tablespoon olive oil
- 4 ounces pancetta, diced
- 1 small onion, finely chopped
- 2 cups frozen peas (about 10 ounces)
- 12 ounces short pasta (ditalini, tubetti, small shells)
- 4 to 4 1/2 cups low-sodium chicken broth or water, plus more as needed
- 1/2 teaspoon kosher salt, plus more to taste
- Freshly ground black pepper
- 1/2 cup finely grated Parmigiano Reggiano or Pecorino Romano, plus more to serve
- Optional: 1 tablespoon butter
How to make it
- Render the pancetta. Set a medium pot over medium heat. Add the olive oil and pancetta. Cook 3 to 5 minutes, stirring, until the pancetta is glossy and starting to crisp. You want browned edges and a little fat in the pot.
- Soften the onion. Add the chopped onion and a pinch of pepper. Cook 2 to 3 minutes until the onion turns translucent and smells sweet, not sharp.
- Add peas and liquid. Stir in the frozen peas, then add 4 cups broth or water and the 1/2 teaspoon salt. Bring to a lively simmer.
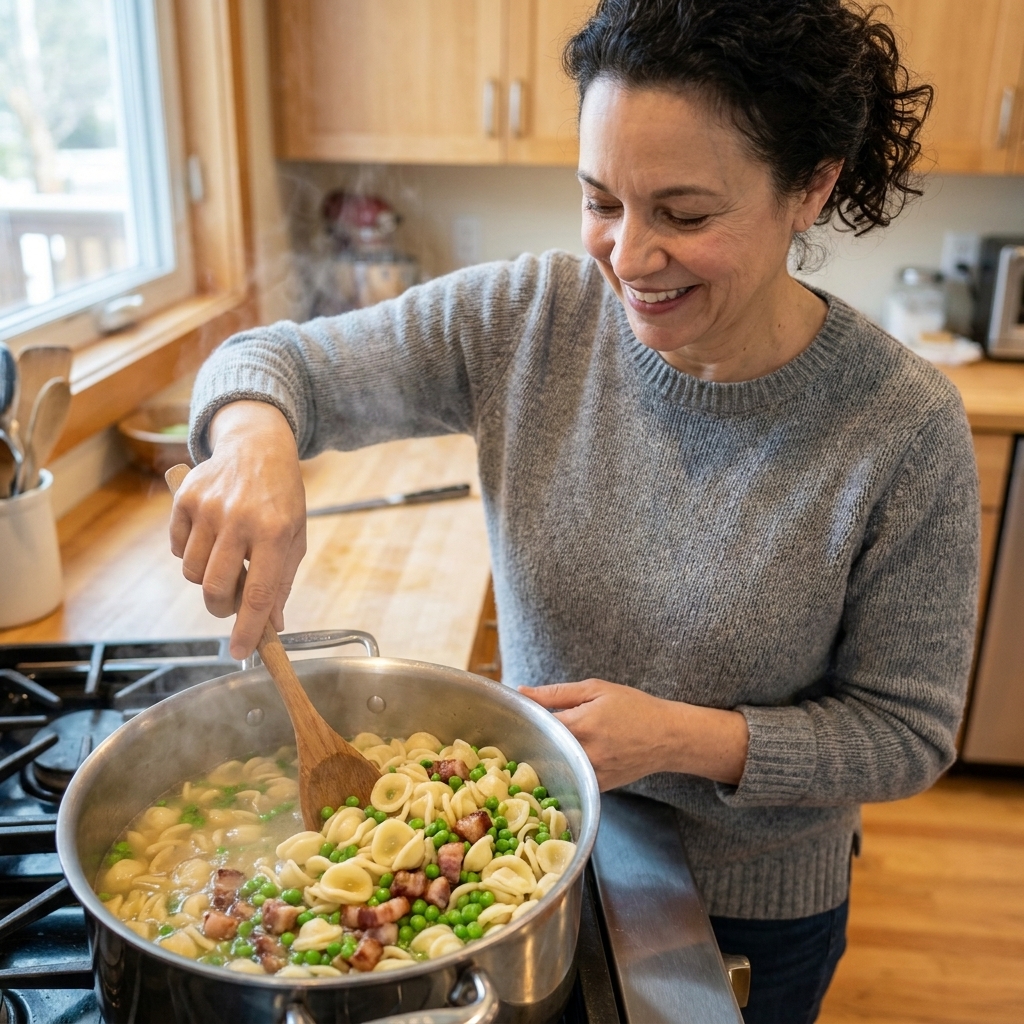
- Cook the pasta in the pot. Add the pasta and stir well so nothing sticks to the bottom. Keep it at an active simmer and stir often, about every 30 to 60 seconds once the pasta goes in. The liquid should look a little higher than you think you need, like a loose soup. The pasta will drink it up.
- Adjust as it cooks. After about 8 minutes, check the pot. If it looks dry before the pasta is tender, splash in more broth or water, 1/4 cup at a time. Total cook time depends on pasta shape, usually 9 to 12 minutes. You are aiming for saucy, like a loose stew, not soupy.
- Make it creamy without cream. When the pasta is just al dente and the pot looks saucy, not soupy, turn off the heat. Stir in the grated cheese and, if using, the butter. Stir vigorously for 20 to 30 seconds. The sauce should turn silky and cling to the pasta.
- Taste and finish. Add more pepper and salt only if it truly needs it. Serve hot with extra cheese.
My cues
- Pancetta stage: you should smell toasted pork and see small golden edges. If it is still pale, give it another minute.
- Onion stage: the onion should look glossy and soft, not browned. Browning is not wrong, but it pushes the flavor away from that gentle sweetness.
- Simmer stage: the pot should bubble steadily. A too-low simmer can encourage sticking and uneven cooking, and a furious boil can reduce too fast.
- Finish stage: when you stir in cheese, the liquid should tighten into a creamy coating. If it looks stringy, the heat was too high. Take the pot off the burner and stir with a splash of hot water to smooth it out.
Best pasta shapes
I love small pasta here because it cooks quickly and grabs peas like little scoops.
- Ditalini or tubetti: the classic, very comforting.
- Small shells: excellent for holding peas and pancetta bits.
- Elbows: pantry-friendly and kid-approved.
- Orzo: not traditional in my family, but it turns the pot extra creamy.
If you only have a larger short shape like rigatoni, you can use it, but plan on a bit more liquid and a few extra minutes of simmering.
Easy variations
Make it more brothy
Some families like pasta e piselli almost like a thick soup. Add an extra 1 cup broth and stop cooking a minute earlier so it stays looser in the bowl.
Add garlic
Add 1 small clove minced with the onion, but keep it subtle. The peas should still taste sweet.
Make it meatless
Skip the pancetta and start with olive oil and onion. For depth, use vegetable broth instead of water, or simmer a piece of Parmigiano rind in the pot (remove before serving). A small spoonful of white miso stirred in off heat is also wonderful if you want savory richness without meat.
Make it extra rich
Stir in 2 tablespoons of ricotta at the end. It becomes creamy and mild, very family-friendly.
Gluten-free note
If you use gluten-free short pasta, keep a closer eye on the liquid and stir frequently. Some brands absorb more and can go from al dente to soft quickly, so start checking a couple minutes early and add broth in small splashes as needed.
Serving ideas
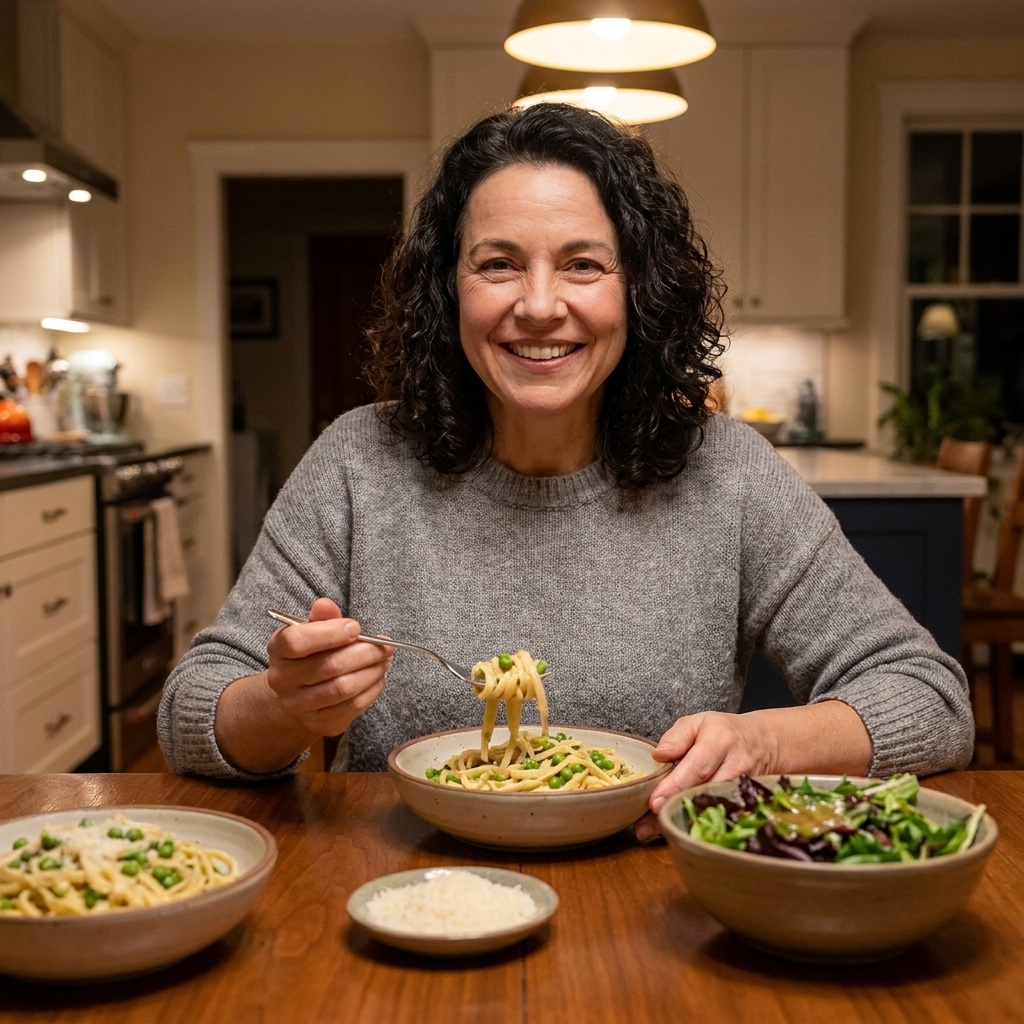
- On the side: a simple green salad with lemon and olive oil.
- Vegetable partner: sautéed zucchini or roasted broccoli rabe if you like bitterness with the sweet peas.
- For the table: extra grated cheese and black pepper.
Storage and reheating
Pasta e piselli is best right after cooking, when the sauce is glossy and loose. That said, leftovers are still delicious.
- Fridge: store in an airtight container up to 3 days.
- Reheat: warm in a small pot with a splash of water or broth, stirring gently until creamy again.
- Microwave: add a spoonful of water, cover loosely, and stir halfway through.
Quick FAQ
Can I use canned peas?
You can, but the flavor will be softer and the texture can be a bit mushy. If canned is what you have, rinse and add them in the last 2 minutes just to warm through.
Can I use fresh peas?
Yes, and it is lovely in spring. Add them with the liquid and simmer 2 to 3 minutes before adding the pasta, depending on how tender they are.
Why did my pasta get dry?
One-pot pasta keeps absorbing liquid as it sits. Keep a kettle or measuring cup of hot water nearby and loosen the pot with small splashes, especially right before serving.
Why did my cheese clump?
The pot was too hot. Turn off the heat, add a splash of hot water, and stir until smooth. Finely grated cheese melts much more cleanly than thick shreds.