Orecchiette means “little ears,” and once you shape your first batch, you will understand the name immediately. They are small, cupped disks of semolina dough that catch sauce beautifully. This is one of my favorite pastas to teach because it looks impressive, but it is made with the simplest dough in the Italian pantry: just semola rimacinata (finely milled durum wheat semolina) and warm water.
In my family kitchen, orecchiette was the kind of pasta you made when you wanted the table to feel extra loved, but you did not want to drag out fancy equipment. If you have a butter knife and your thumb, you are in business.
What makes it authentic
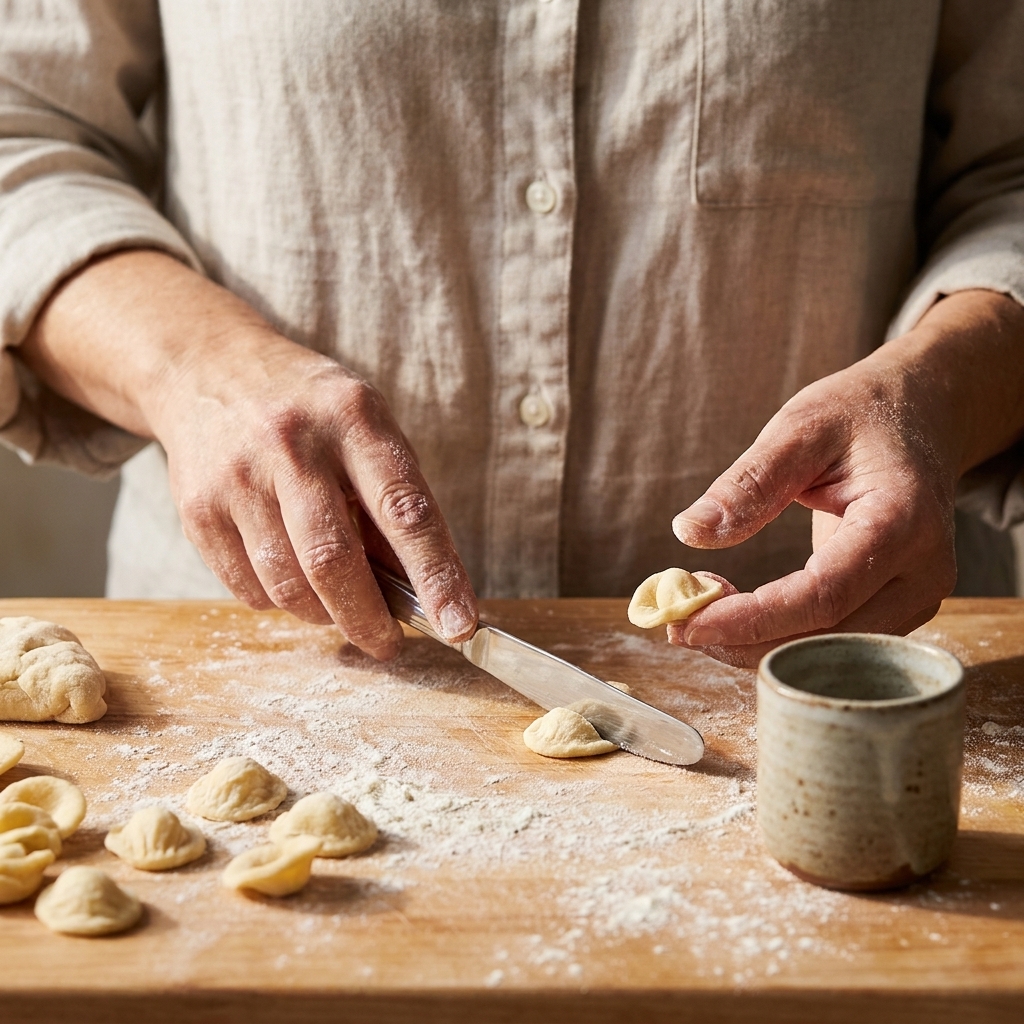
Traditional orecchiette from Puglia is an eggless pasta made with durum wheat and water (salt is optional). In many homes it is shaped on a wooden board with a knife, then flipped over the thumb to create that signature rough outside and smooth, cupped inside.
- Eggless semolina dough: chewy, sturdy, and perfect for vegetables and bold sauces.
- Rough exterior: created by dragging the dough with a knife so sauce clings.
- Cupped shape: flipped over the thumb so it holds little bits of broccoli rabe, sausage, or tomato.
Ingredients
For the dough (about 4 servings)
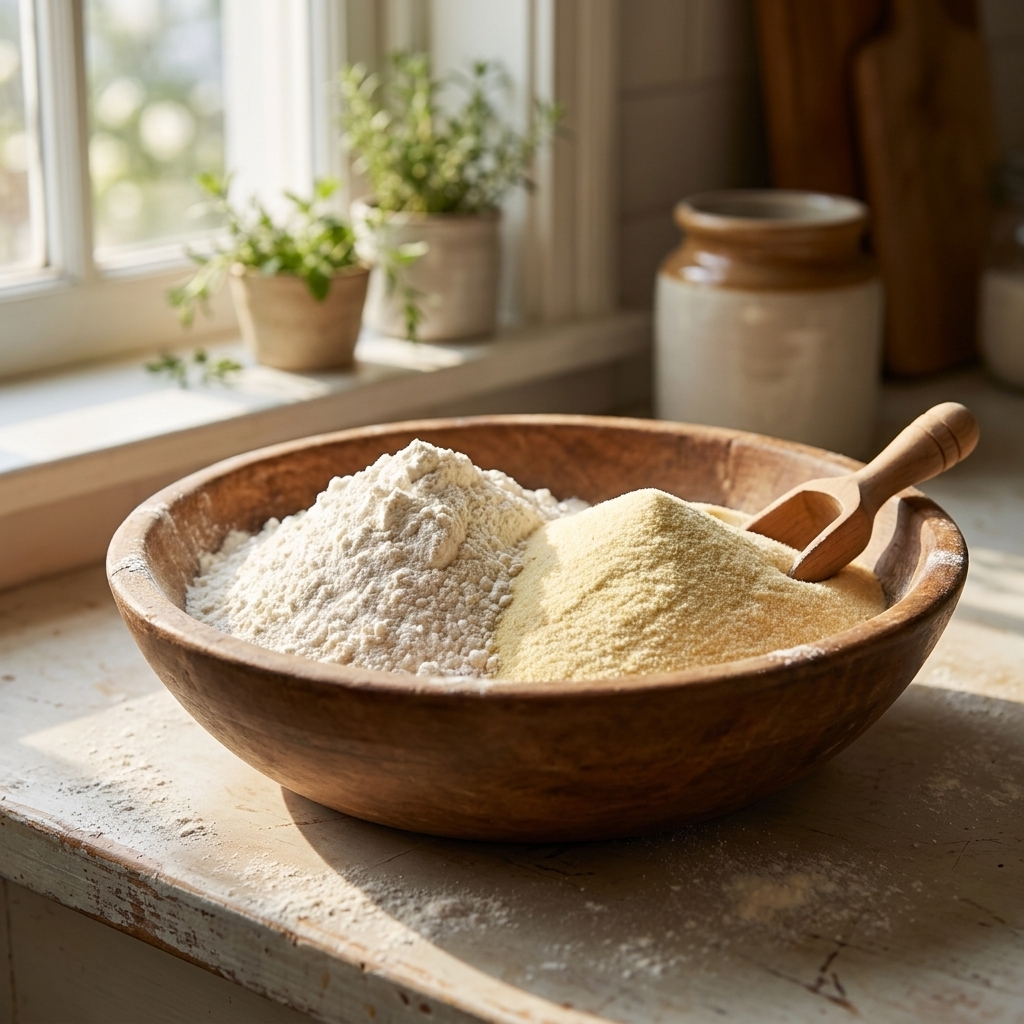
- 300 g semola rimacinata (finely milled durum wheat semolina), plus more for dusting
- 150 g warm water (comfortably warm to the touch, about 35 to 45°C)
- Pinch of salt (optional, but I like it)
Semola rimacinata is the key. It is more finely milled than regular semolina, so the dough hydrates evenly and feels silky instead of sandy. If you only have coarser semolina, you can still make orecchiette, but expect a slightly more rustic bite and a dough that needs a touch more resting.
About servings: I count 300 g flour as a generous first course for 4, or a lighter main for 3. Your table gets the final vote.
Tools
- A large bowl
- A fork or your fingertips
- A clean counter or wooden board
- A butter knife (a dull table knife works best, not a sharp chef’s knife)
- A bench scraper (helpful, not required)
- A tray or sheet pan dusted with semolina
- Plastic wrap or a clean towel to cover the dough while you work
Make the dough
1) Mix
Pour the semola rimacinata onto the counter or into a bowl. Make a wide well in the center. Add the warm water (and salt if using) and start mixing with a fork until shaggy.
What you are looking for: all the flour should be hydrated with no dry pockets, but the dough will look rough at first. That is normal.
2) Knead
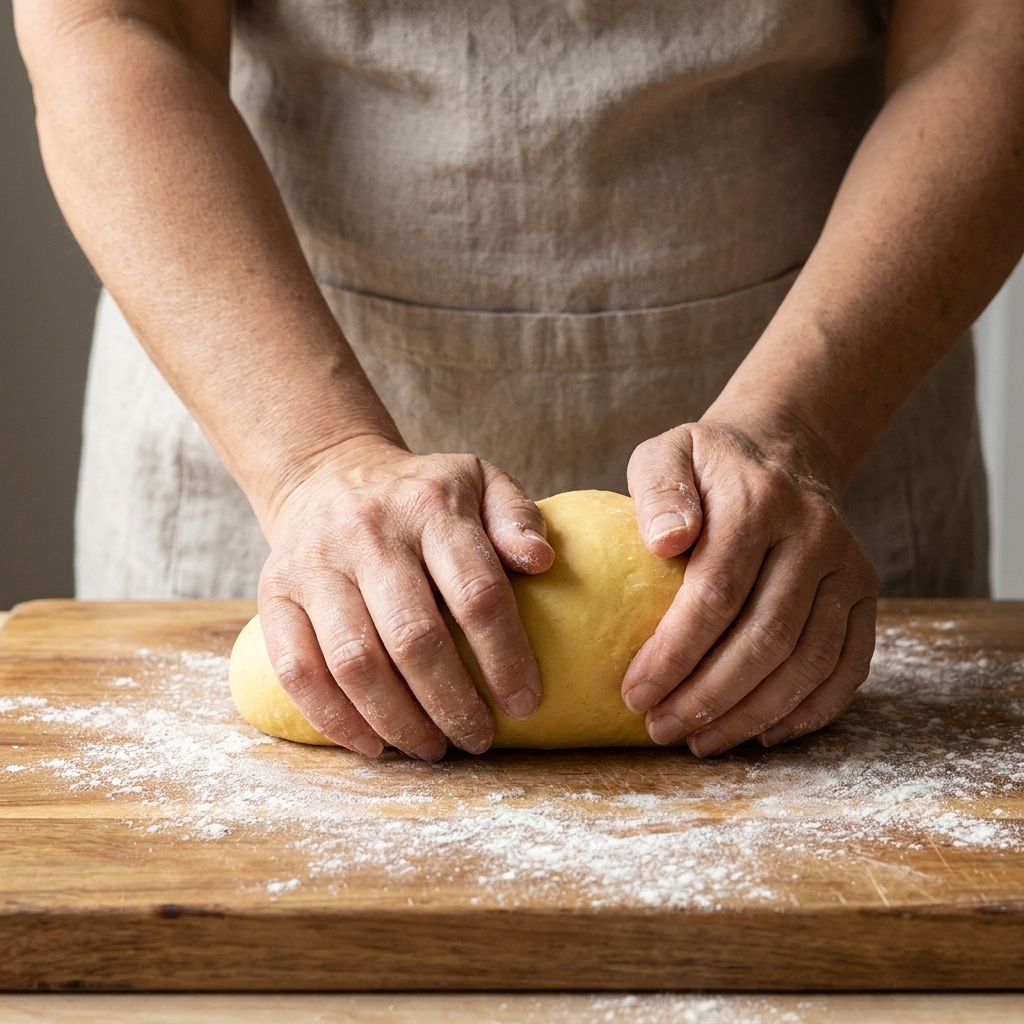
Knead for 8 to 10 minutes. At first it will feel stiff and pebbly, then it will start to come together. Keep pushing with the heel of your hand, folding, and turning.
Sensory cue: the finished dough should feel firm, smooth, and slightly elastic, like a dense Play-Doh. If you press a fingertip into it, it should slowly bounce back.
3) Rest
Wrap tightly (or cover with an inverted bowl) and rest for 30 minutes at room temperature. This rest matters. It lets the semolina fully absorb water so shaping is clean. If you rush it, you will often see cracking when you flip the dough, plus ragged edges instead of neat little cups.
Shape orecchiette
This is the part that feels like magic. Give yourself 10 minutes of “practice pasta” and you will get the rhythm.
Step by step
- Pinch off a piece of dough and keep the rest covered so it does not dry out and form a skin.
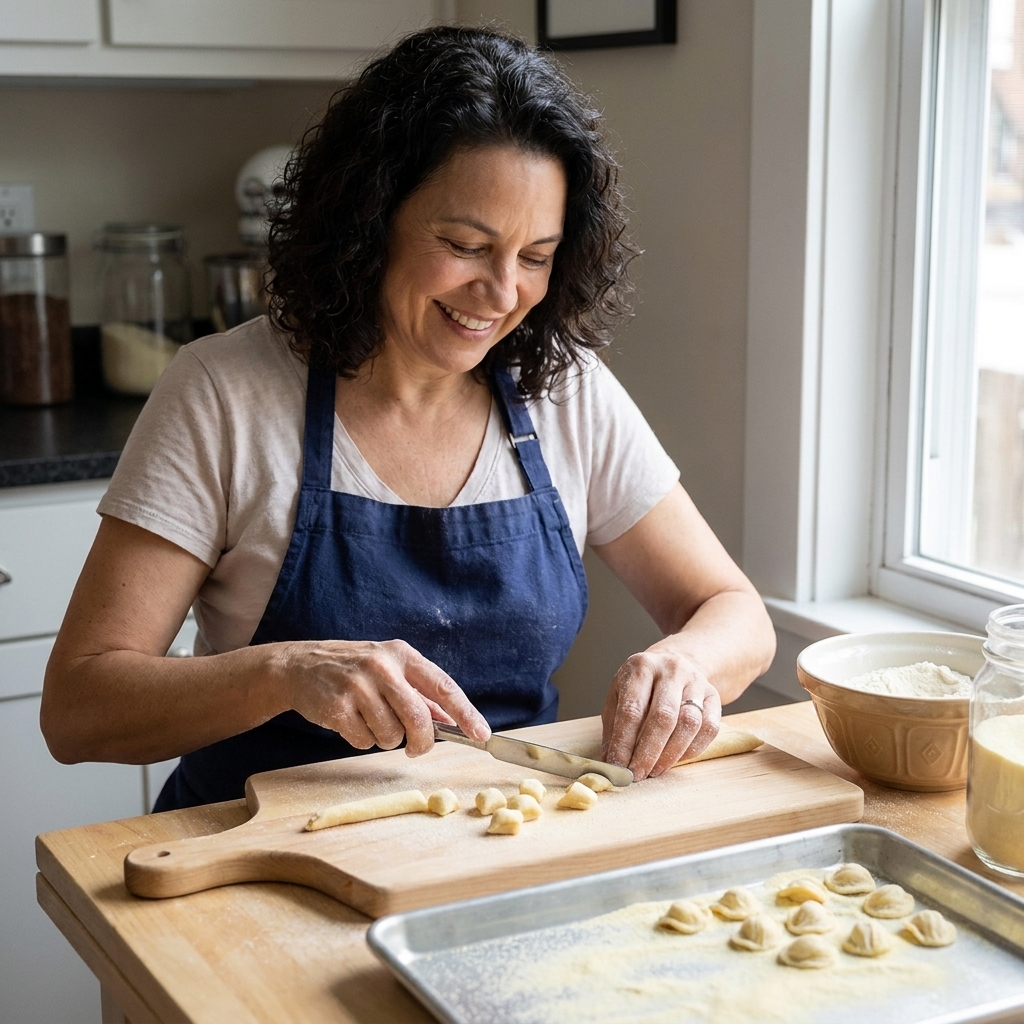
- Roll into a rope about 1 cm thick, like a chubby pencil.
- Cut small nuggets about 1 cm wide.
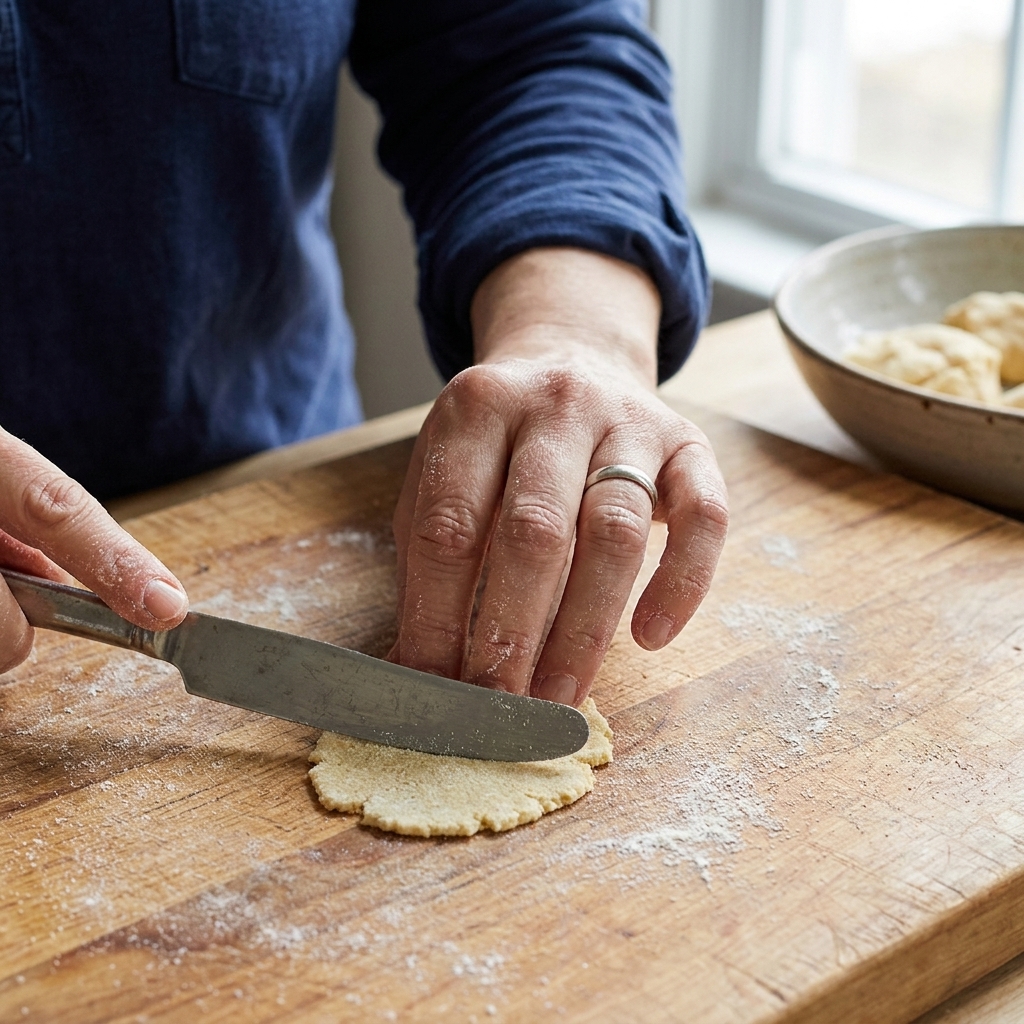
- Drag with the knife: place the flat edge of the butter knife on the nugget and drag it toward you with gentle pressure. The dough should curl slightly and form a thin disk with a rough side.
- Flip over your thumb: take that little disk and turn it inside out over your thumb. Pinch the rim very lightly if needed to encourage a cup shape.
- Set on a semolina-dusted tray in a single layer, not touching.
Best cue of all: the outside should look slightly ridged or matte, and the inside should be smoother and hollowed like a tiny ear.
Keep it covered while you work: as you shape, keep your unworked dough under plastic wrap or under a towel. If a skin forms, trim it off and knead the dough briefly with a few drops of water, then rest it for 5 to 10 minutes before shaping again.
Dusting tip: use a light hand with semolina on the tray and on your fingertips. Too little and they stick. Too much and shaping gets slippery, and you end up with a floury coating in the pot.
Common problems
The dough cracks when I flip it
- Cause: dough is too dry or did not rest long enough.
- Fix: mist your hands with water and knead the dough for 30 seconds, then rest 10 minutes and try again.
The pieces look like little hats, not cups
- Cause: not enough drag with the knife, so the center stays too thick.
- Fix: press a touch more firmly with the knife and drag a longer stroke to thin the dough.
They are too thick and heavy
- Cause: nuggets are too large or the rope is too thick.
- Fix: roll a thinner rope and cut smaller pieces. Remember, they puff slightly when cooked.
They stick to the board
- Cause: not enough dusting flour, or the board is damp.
- Fix: dust lightly with semola rimacinata. Avoid heavy flouring, which can make shaping slippery.
Dry and store
Short dry (best texture)
Let shaped orecchiette sit out 20 to 40 minutes before cooking. This helps them hold their shape and gives you that perfect chewy bite.
If you are short-drying a full tray, give the pieces a gentle shuffle once or twice so the bottoms do not trap moisture and stick.
To freeze
- Arrange orecchiette on a tray in a single layer.
- Freeze until solid, about 45 to 60 minutes.
- Transfer to a freezer bag and freeze up to 2 months.
Cook from frozen. Do not thaw, or they can turn gummy.
To dry fully
You can dry orecchiette at room temperature until hard, then store in an airtight container. Drying time depends on humidity, but plan on 24 to 48 hours.
Before you store them, make sure they are truly bone-dry all the way through. If there is any softness left, they can mold in the jar. If your kitchen runs humid, freezing is safer and more reliable.
How to cook
Bring a large pot of water to a rolling boil and salt it generously. Orecchiette like space to move, so go big. I aim for a roomy pot and at least a few liters of water for a batch this size.
- Fresh orecchiette: usually 4 to 6 minutes
- Frozen orecchiette: usually 6 to 8 minutes
- Fully dried orecchiette: usually 8 to 12 minutes (varies by thickness)
My doneness test: pull one out and bite it. You want a cooked center with a pleasantly firm chew. Orecchiette should not be soft like soup pasta.
Finish in the sauce: scoop them straight into a pan with your sauce and a splash of pasta water. Toss for 1 to 2 minutes so the sauce climbs into every little cup.
Best sauces
Orecchiette shines with sauces that have texture. Those little bowls are made to catch bits.
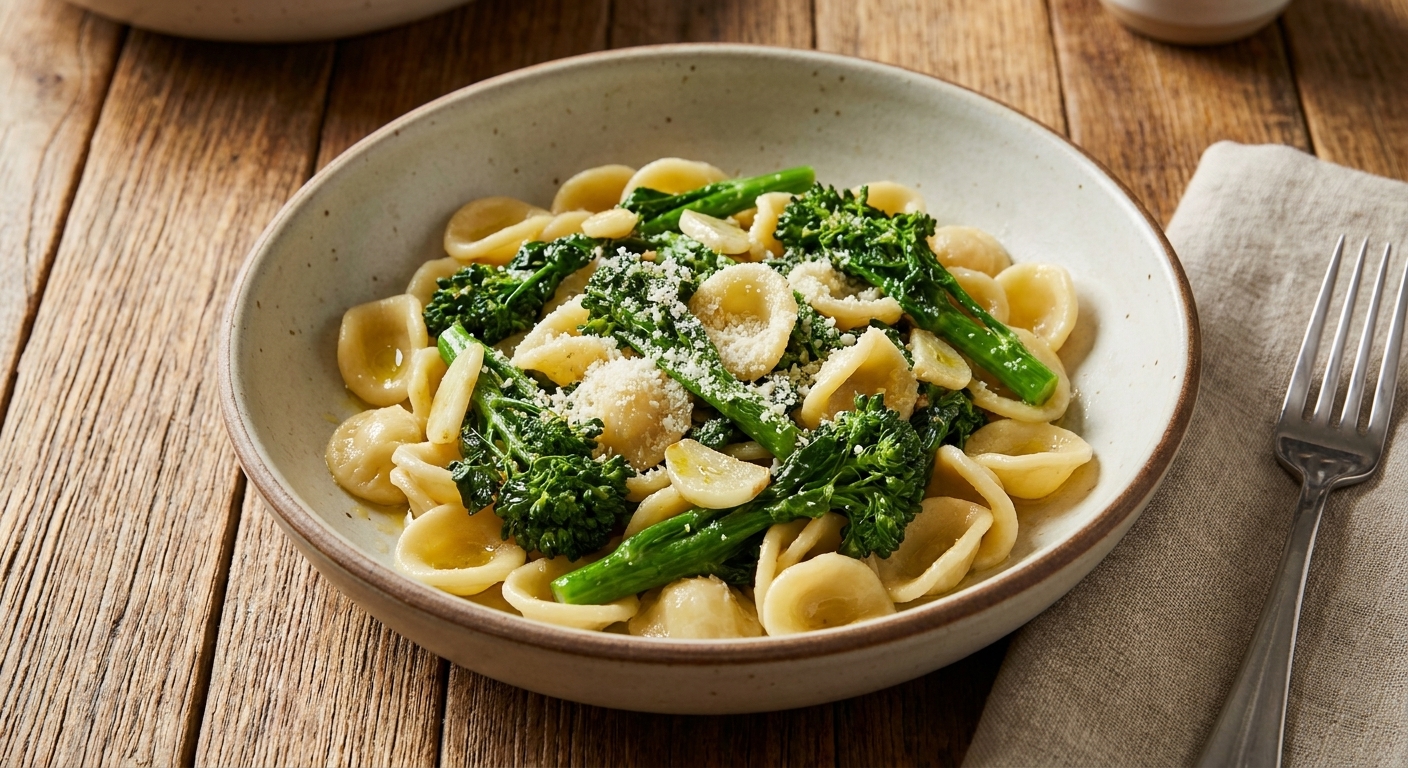
- Orecchiette con cime di rapa: broccoli rabe, garlic, olive oil, and chili flakes
- Sausage and broccoli: fennel sausage, broccoli florets, Parmesan
- Simple tomato: a quick garlic tomato sauce with basil
- Chickpeas and rosemary: pantry-friendly and deeply comforting
Variations
If you only have all-purpose flour
You can make a tender, less chewy version using all-purpose flour and water, but it will not have the same sturdy bite. If you can, blend 50% semolina and 50% all-purpose as a bridge until you get semola rimacinata.
Hydration tweaks
Flour brands vary. If your dough feels like dry crumbs after mixing, add water 1 teaspoon at a time. If it feels sticky, dust with semola and keep kneading. Semolina dough should be firm, never tacky.
FAQ
Do I need eggs?
No. Traditional orecchiette is eggless. The chew and structure come from durum wheat and good kneading.
Why warm water?
Warm water helps semolina hydrate faster and more evenly, which means smoother dough and less cracking during shaping. It should feel warm, not hot.
Can I use a fork or gnocchi board for texture?
You can, but the classic knife drag gives you the most authentic roughness on the outside. A gnocchi board is lovely if you already own one, but it is not required.
How many pieces does this make?
With 300 g semola rimacinata, expect roughly 120 to 160 orecchiette depending on size. The best advice is to make them small enough to scoop with a fork in one bite.
A final pep talk
Your first few orecchiette might be lumpy, thick, or a little shy about becoming cups. That is part of learning. Keep going. After a dozen pieces your hands start to understand the motion, and suddenly you look down and there is a tray full of tiny ears waiting for sauce. That is the moment I wish I could bottle and hand to every home cook.
If you make these, set the table, pour something cold, and let the pasta be the love language it was always meant to be.