If you have ever looked at your sink after a Tuesday night dinner and thought, why do I own this many pots, pasta risottata is about to become your best friend. It is an Italian method where you cook dried pasta directly in the sauce, adding hot liquid a little at a time, the way you would cook risotto. The pasta releases starch into the pan, the sauce thickens naturally, and everything tastes more intense because nothing gets diluted and drained away.
In my family kitchen, this is the move when you want something that feels slow-simmered, but you only have 25 minutes and one good pan. You are going to listen for the sizzle, watch the sauce cling, and learn the exact moment when the pasta is tender but still has that bite.
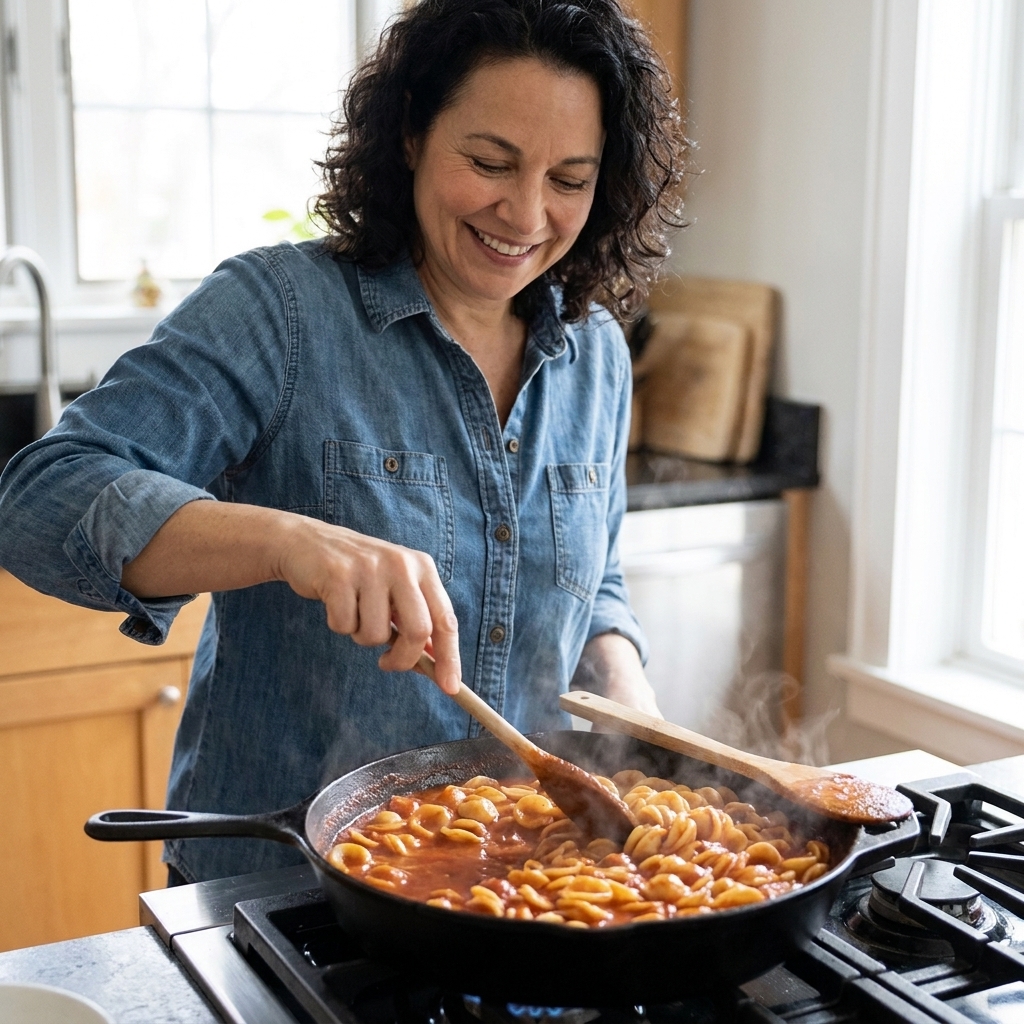
What is pasta risottata?
Pasta risottata means cooking pasta “risotto-style.” Instead of boiling pasta in a big pot of water and finishing it in sauce, you start the sauce in a wide pan, add the dry pasta, then add simmering liquid gradually (water, stock, or a mix). The pasta cooks right there, absorbing flavor as it softens.
The result is a pan sauce that is:
- Creamier (thanks to starch released directly into the sauce)
- More concentrated (no draining, no washed-out flavor)
- Weeknight-friendly (one pan, fewer steps)
You will see versions of this across Italian home cooking, and it is often associated with Southern Italy, where cooks are masters at turning pantry staples into something that feels like a feast.
Why it works
When pasta boils in a pot, the starch mostly ends up in the water you pour down the drain. With pasta risottata, that starch stays in the pan and turns your sauce silky.
Here is what you will notice as you cook:
- At first: the sauce looks thin and busy, like it is bubbling around the pasta.
- Midway: the liquid starts to look slightly cloudy and glossy.
- At the end: the sauce clings to the pasta and leaves a slow trail when you drag a spoon through the pan.
If you have ever wondered how restaurants get that “coating every noodle” finish without dumping in cream, this is a classic restaurant move.
The basic method
You do not need special equipment. A wide skillet or sauté pan with higher sides is perfect because it gives the pasta room to move while the sauce reduces.
1) Build a flavorful base
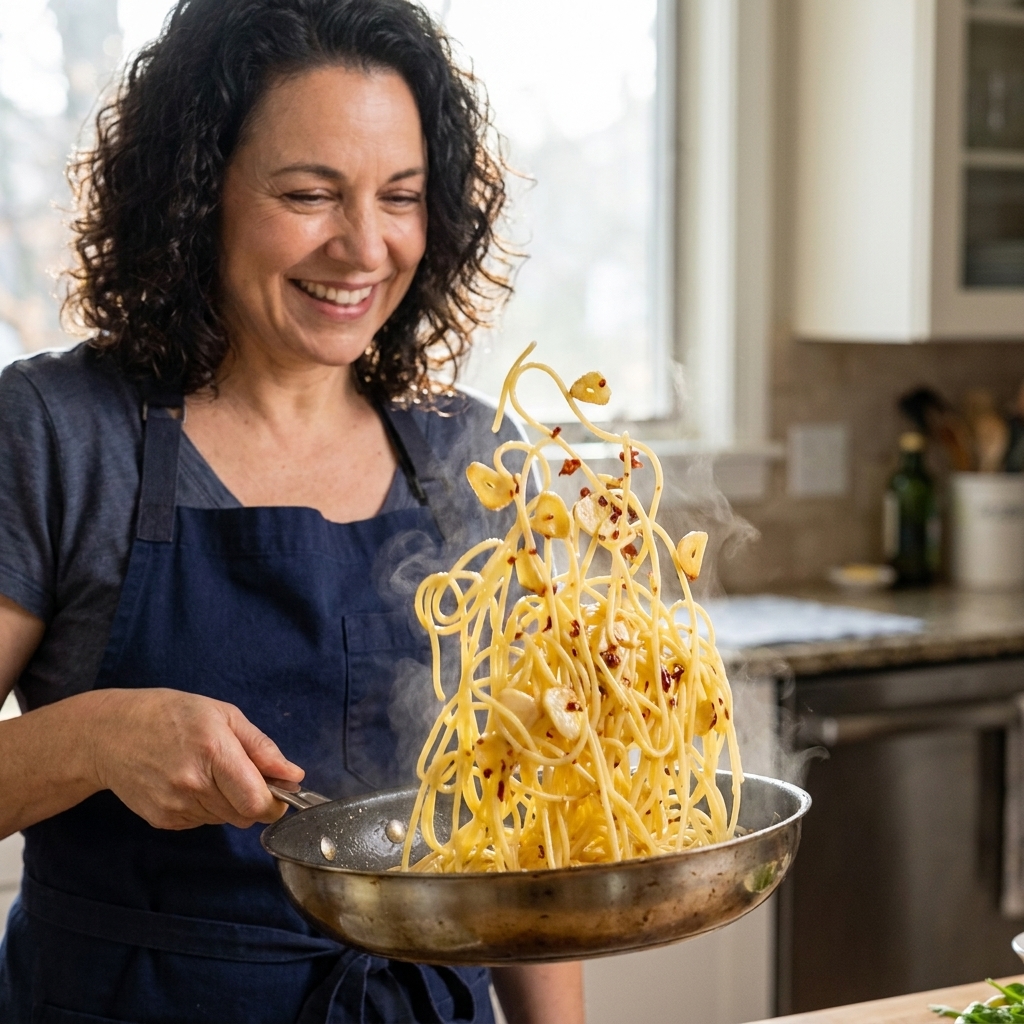
Start with olive oil and aromatics. When garlic hits the oil, you want a gentle sizzle, not aggressive frying. If it smells sharp or starts browning fast, lower the heat. Add tomato paste, crushed tomatoes, sautéed vegetables, pancetta, or whatever your sauce needs and let it cook for a few minutes so it tastes “started,” not raw.
2) Add the dry pasta
Stir the pasta into the sauce so it gets coated. This helps it start absorbing flavor immediately.
3) Add hot liquid gradually
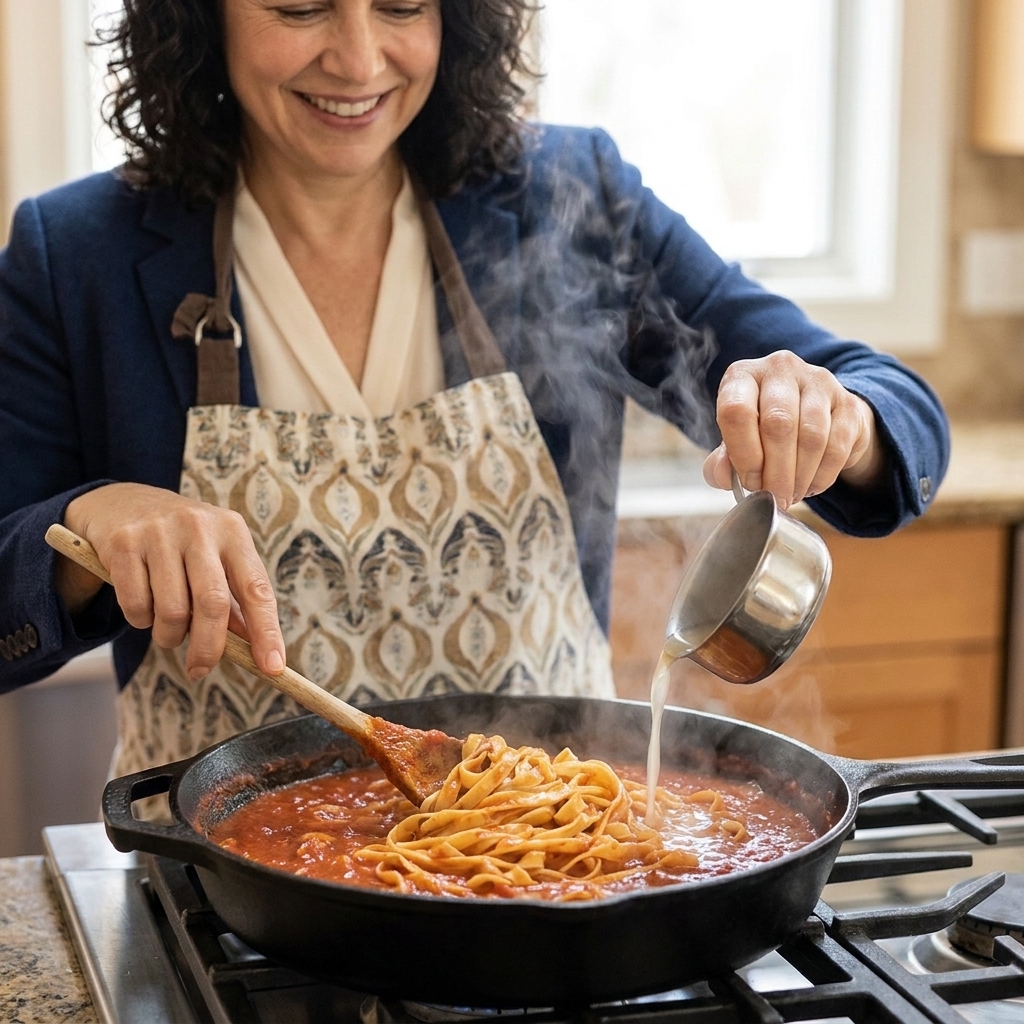
Keep a small pot or kettle of hot water (or stock) nearby. Add enough liquid to nearly cover the pasta. Aim for most pieces submerged, then stir and rotate so anything poking out takes its turn in the liquid.
Bring to a lively simmer, then keep it there. As the liquid reduces, stir and add more in small splashes, like you are babysitting a risotto. You are controlling texture the whole time.
4) Finish strong
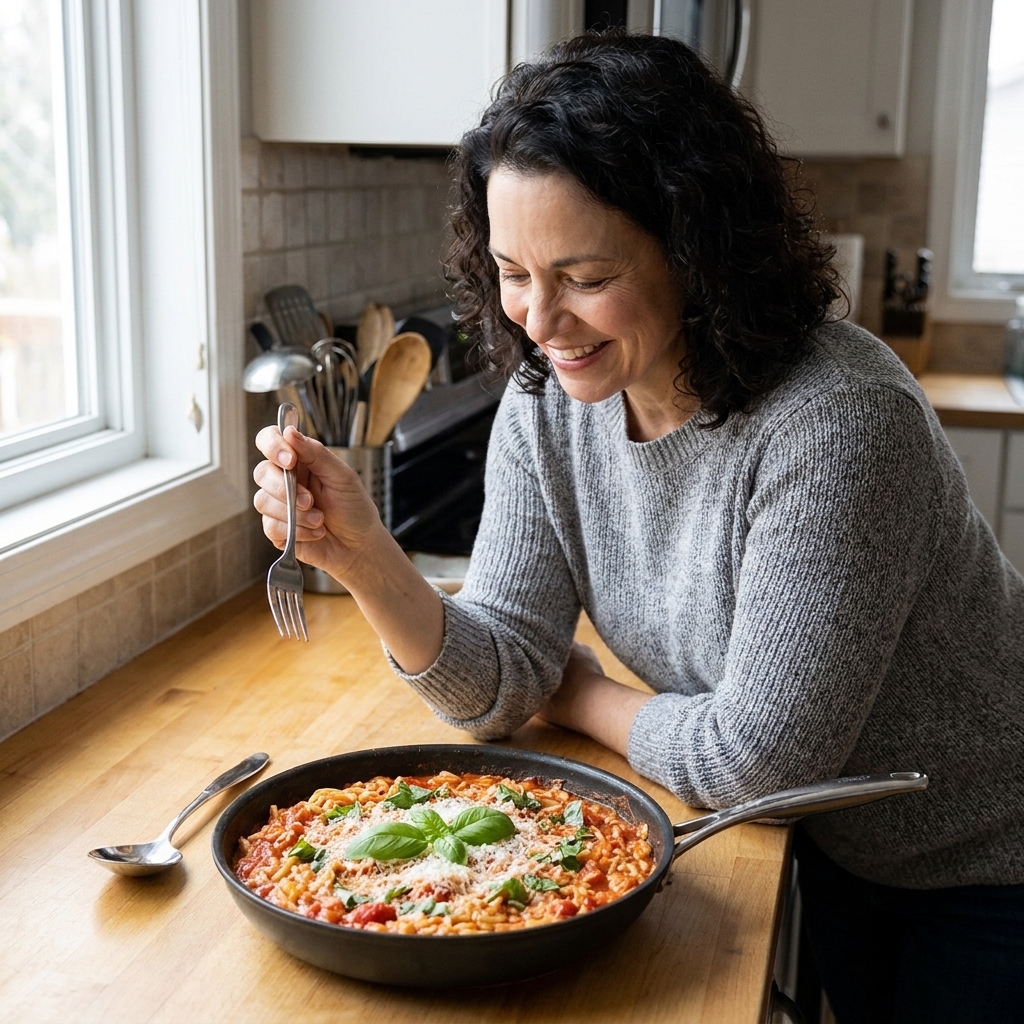
When the pasta is almost al dente and the sauce looks thick and glossy, turn off the heat and add your finishing ingredients: a knob of butter, a shower of Parmigiano-Reggiano, a drizzle of olive oil, torn basil, lemon zest, or a spoonful of ricotta. This last minute is where it turns from “good” to “oh wow.”
Liquid and timing
Because different shapes, brands, and sauces absorb differently, think in a range instead of one rigid number. Bronze-cut pastas and thicker shapes often need a bit more. Tomato-heavy bases already contribute a lot of moisture, so you may need less added water than you expect.
A starting point
- 8 ounces (225 g) dried pasta: about 3 to 3 1/2 cups hot liquid total
- 12 ounces (340 g) dried pasta: about 4 1/2 to 5 cups hot liquid total
Your sauce counts as part of the liquid. Start with less, then add as you go. The goal is control, not a perfect measuring cup moment.
Timing
Most short shapes typically finish in 10 to 14 minutes once you are at a steady simmer, but thicker shapes can take longer. Start tasting around minute 8, then keep checking every couple of minutes until the center loses its raw crunch.
Clear cue: the outside should feel tender, the center should still have that tiny bite. You are aiming for al dente, not “soft and swollen.”
Best pasta shapes
Short pasta is the easiest place to start, especially anything with ridges or curves that grabs sauce.
My favorites
- Rigatoni (great for thicker sauces)
- Penne rigate
- Fusilli
- Orecchiette (needs a little more stirring)
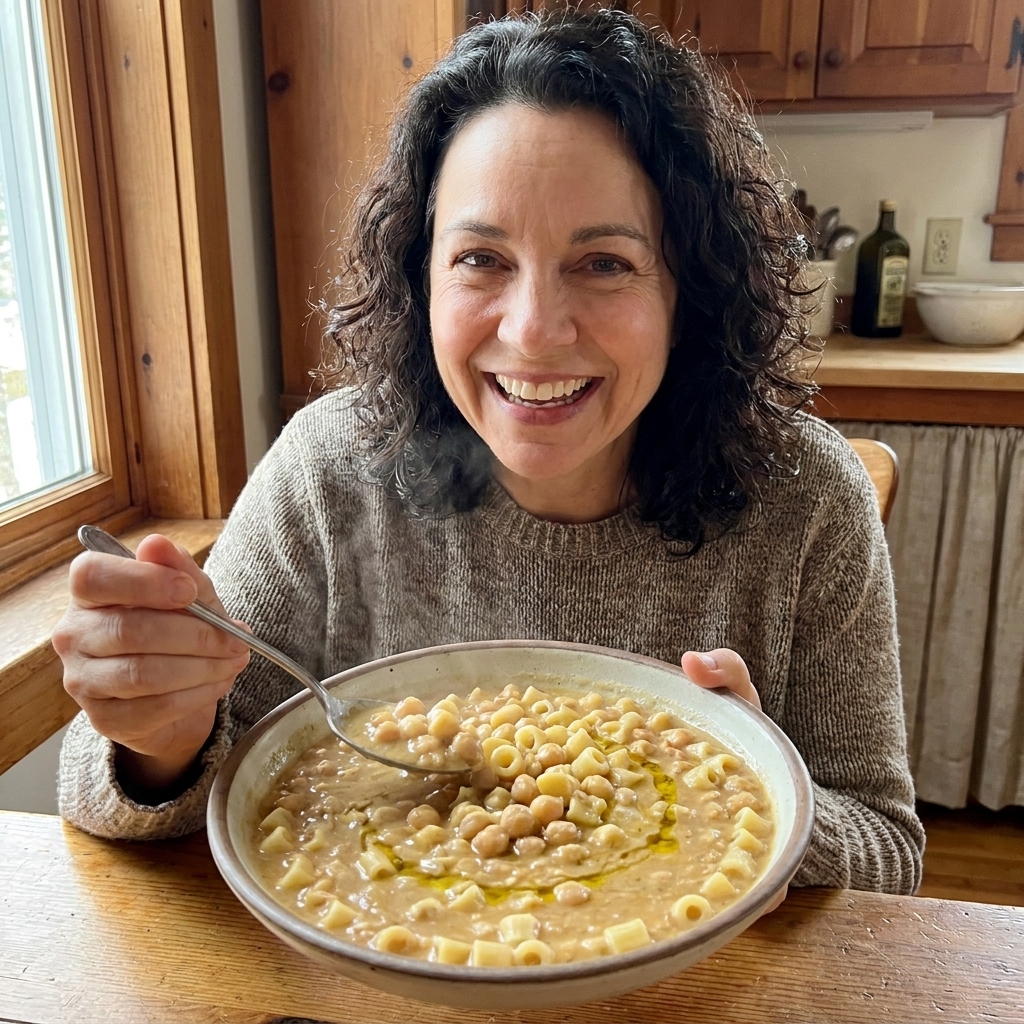
- Ditalini (perfect for brothy, cozy pans)
- Mezze maniche
Long pasta?
Yes, but it is fussier. Spaghetti and linguine want space, and they need a minute to soften before you can fully submerge and stir them. Use a very wide pan, keep the strands moving, and add hot liquid in smaller additions so they do not glue together.
Which liquids to use
You have options, and each one gives a slightly different personality.
- Hot water: clean, classic, lets the sauce shine. This is the most “Italian home kitchen” choice.
- Vegetable or chicken stock: deeper savory flavor, especially good for pantry tomato sauces or veggie-forward pans.
- Wine: a splash at the beginning is lovely. Let it simmer for a minute before adding more liquid so the alcohol cooks off and you keep the aroma, not the burn.
One rule: keep the liquid hot. Cold water drops the temperature and can make cooking uneven, like the pasta is constantly starting and stopping.
Stirring and salting
Do you need to stir constantly?
Not constantly, but more than you would with boiled pasta. Think of it like this: you are stirring often enough to prevent sticking and encourage starch release, especially in the last third of cooking when the sauce thickens.
I usually stir:
- Right after adding pasta (to coat)
- Every time I add liquid
- More frequently in the final 3 to 4 minutes
If you can hear the pan going from a gentle simmer to a dry “fry” sound, that is your cue to stir and add a splash of liquid.
How much salt?
Because you are not cooking in a pot of heavily salted water, seasoning works differently. If your liquid is plain hot water, start with a small pinch of salt early, then adjust at the end. If you are using stock, plus salty add-ins like Parmigiano, pecorino, capers, olives, or cured meat, go lighter up front and taste before you add more. I would rather have you finish with a confident final pinch than oversalt the whole pan at minute five.
Pan size and batching
This method likes breathing room. For 8 to 12 ounces of pasta, a 10 to 12 inch wide skillet or sauté pan is the sweet spot. If the pasta is piled up too high, it cooks less evenly and the sauce reduces more slowly.
Doubling the recipe is doable, but expect changes: evaporation slows down, stirring gets harder, and timing can stretch. When in doubt, cook in two pans or accept that you will need a few extra minutes and more liquid.
Three easy combos
These are not full recipes, more like dependable flavor paths you can riff on with what is in your fridge.
1) Garlicky tomato basil
- Olive oil, garlic, pinch of chili flakes
- Crushed tomatoes or passata
- Short pasta + hot water or stock
- Finish with basil and Parmigiano
2) Zucchini and lemon
- Sauté grated or finely diced zucchini until tender
- Add pasta and hot stock
- Finish with lemon zest, black pepper, Pecorino Romano
3) Pantry tuna and capers (my “I did not plan dinner” dinner)
- Garlic in olive oil, a little tomato paste
- Add capers and a few olives if you have them
- Cook pasta risottata-style with hot water
- Stir in tuna at the end so it stays tender
Troubleshooting
The pasta is sticking
- Use a wide enough pan so the pasta can move.
- Keep the simmer lively, not timid. A weak simmer encourages sticking.
- Stir more often, especially once the sauce thickens.
- Add liquid in smaller, more frequent splashes.
The sauce is watery but the pasta is cooked
- Turn the heat up a little and let it bubble uncovered for 1 to 2 minutes.
- Stir often to emulsify and tighten the sauce.
- Finish with cheese or a small knob of butter to help it go glossy.
The sauce is thick but the pasta is crunchy
- Add more hot liquid, a quarter cup at a time.
- Lower the heat slightly so the outside does not overcook while the center catches up.
- Cover the pan for 1 to 2 minutes if needed, then uncover to reduce again.
It tastes flat
- Add salt thoughtfully at the end. You are not cooking in salted boiling water, so seasoning is different.
- Try acid: a squeeze of lemon, a spoonful of vinegar-rich capers, or a small splash of wine early on.
- Finish with good olive oil and black pepper. It sounds simple, but it wakes everything up.
FAQ
Is pasta risottata the same as one-pot pasta?
They are cousins. Many one-pot pastas cook everything in one go with a set amount of liquid. Pasta risottata is more hands-on and incremental, which gives you better control and that creamy, restaurant-style cling.
Can I do this with gluten-free pasta?
You can, but expect different behavior. Some gluten-free pastas release starch differently and can go from firm to fragile quickly. Use gentle stirring, add liquid gradually, and start tasting early.
Can I use fresh pasta?
This technique is designed for dried pasta. Fresh pasta cooks too fast and can turn soft before the sauce reduces. If you want a one-pan fresh pasta dinner, cook the sauce separately and drop the fresh pasta in at the very end with a splash of water to finish.
Do I need to cover the pan?
Usually no. You want reduction. Covering can be helpful for a minute or two if the sauce is thickening faster than the pasta is cooking, especially with larger shapes.
One last nudge
The first time you try pasta risottata, you might feel like you are “breaking rules” by not using a big pot of water. You are not. You are using a method Italian home cooks have leaned on for generations: build flavor in the pan, control the liquid, and let the pasta and sauce become one.
Once you do it a couple of times, you will stop measuring so much and start cooking by the signs. The simmering sound, the way the spoon drags through the sauce, the smell when garlic turns sweet and mellow. That is the moment you will realize you did not just make dinner fast. You made it feel loved.