If you’ve ever watched ravioli bobbing in boiling water and thought, please don’t explode, you’re in the right kitchen. Homemade ravioli isn’t hard, but it is picky. The secret isn’t fancy equipment. It’s dough rolled to the right thickness, filling that isn’t too wet, and a seal that’s truly sealed.
This guide walks you through classic cheese ravioli, step by step, with the little sensory cues my family taught me. You’ll know exactly what the dough should feel like, how much filling is enough, and what to do if something starts going wrong before it hits the water.
Why ravioli bursts
Ravioli usually bursts for one of four reasons. We’re going to design around all of them.
- Trapped air: Air expands as ravioli heats, pushing apart the seams.
- Wet filling: Moisture weakens the seal and makes the pasta slippery.
- Weak edges: Flour, dry edges, or uneven pressure prevents a proper bond.
- Boiling too hard: A rolling, aggressive boil slaps ravioli around until a seam gives up.
Good ravioli feels like a little pillow with a wide, flat border that’s fully pressed together. Think: secure, not stressed.
Tools you need
You can make ravioli with very basic equipment. Here’s what I actually reach for.
- Rolling: Pasta roller (hand-crank or stand mixer attachment) or a rolling pin
- Cutting: Ravioli wheel, sharp knife, or a fluted pastry wheel
- Filling: Teaspoon or a piping bag with the tip cut off
- Sealing: Your fingertips, plus a small bowl of water
- Drying: Sheet pans or a clean tablecloth on the counter
- Cooking: Wide pot, spider strainer or slotted spoon
Ravioli stamps and trays are fun, but they’re not required. Technique matters more than the gadget.
Ingredients
Pasta dough (about 48 small ravioli)
That yield assumes roughly 2-inch squares with a generous border.
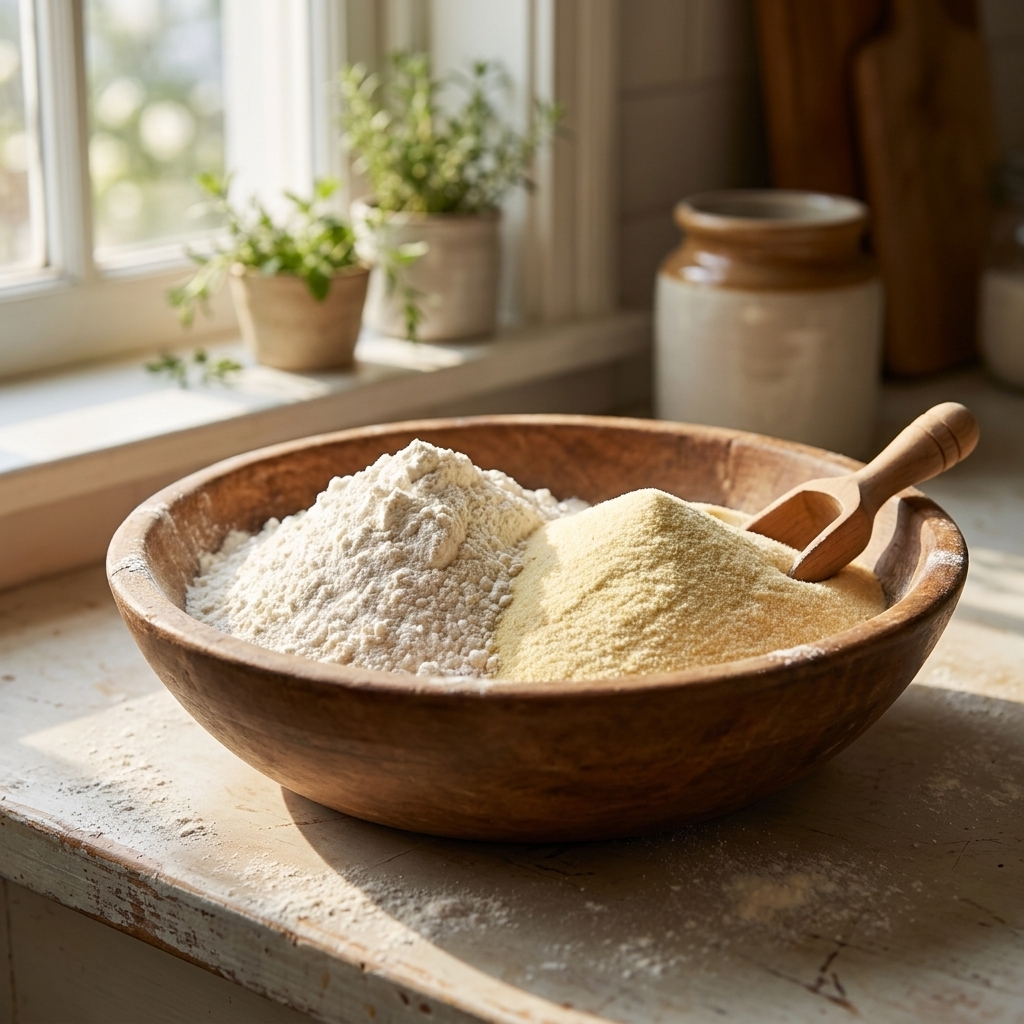
- 300 g all-purpose flour or Italian 00 flour, plus more for dusting
- 3 large eggs
- 1 tsp extra-virgin olive oil (optional, helps elasticity)
- Pinch of fine salt
Cheese filling
- 250 g whole-milk ricotta
- 75 g finely grated Parmigiano-Reggiano
- 1 large egg yolk
- 1 tbsp chopped parsley (optional)
- 1/2 tsp fine salt, plus more to taste
- Black pepper, to taste
- Freshly grated nutmeg, just a pinch (optional but lovely)
For serving
- Butter and sage, or a simple tomato sauce, or a quick pesto
- Parmigiano-Reggiano for finishing
Ricotta tip: If your ricotta looks watery, drain it. Wet ricotta is one of the most common “mystery” causes of split ravioli.
Step 1: Make the dough
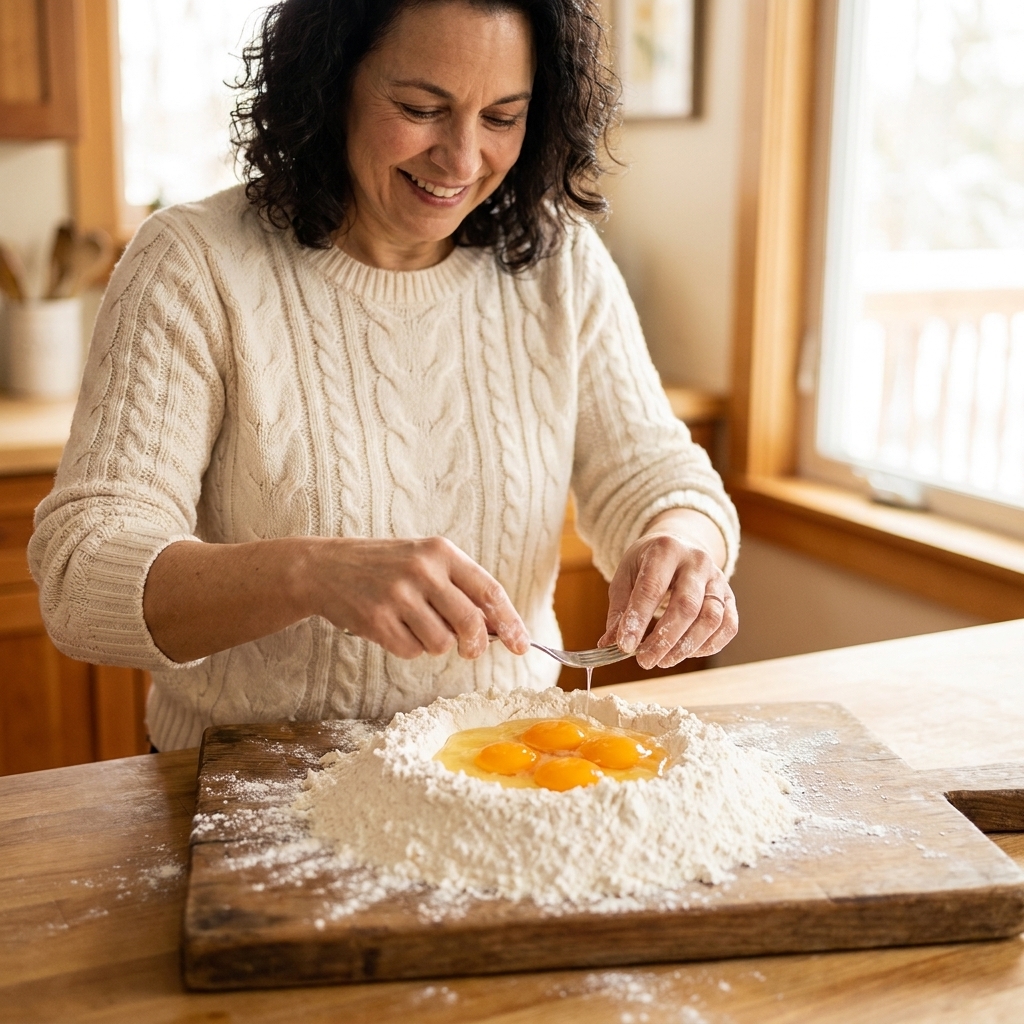
Pour the flour onto the counter and make a wide well in the center. Crack in the eggs, add salt, and drizzle in olive oil if you’re using it. Beat the eggs with a fork, slowly pulling in flour from the walls of the well.
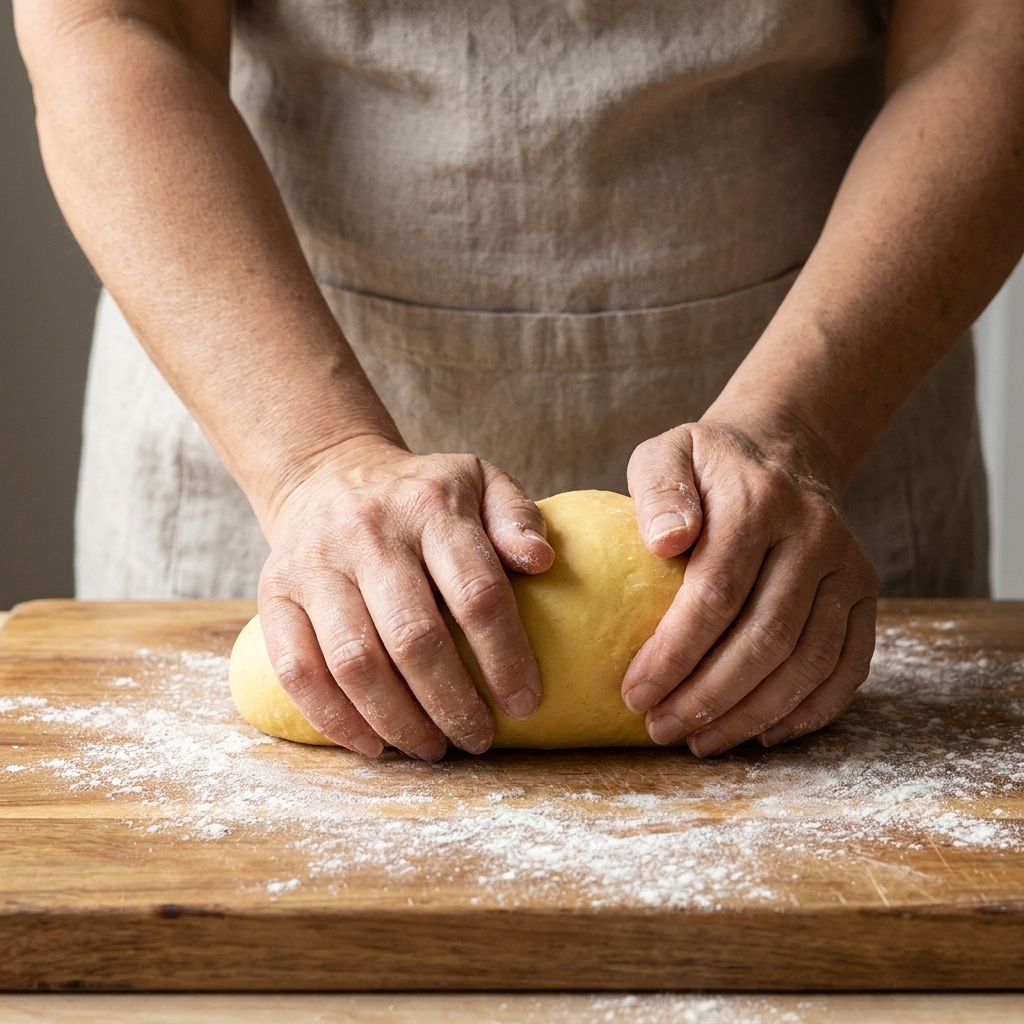
When it gets shaggy and thick, switch to your hands and knead for 8 to 10 minutes. The dough should go from rough to smooth, like soft playdough that springs back when you poke it.
If it feels sticky, dust flour lightly. If it feels dry and cracks at the edges, wet your hands and keep kneading. Tiny adjustments beat dumping in a lot of flour or water.
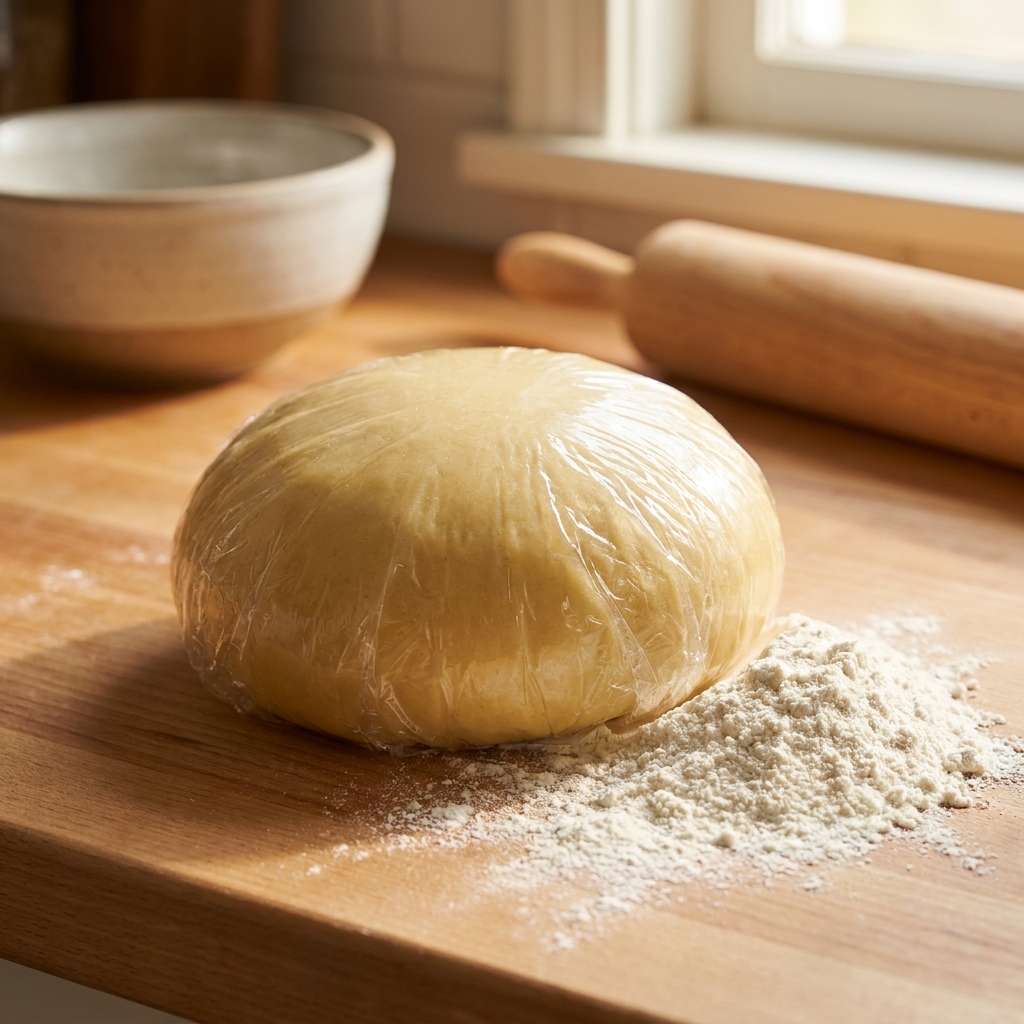
Wrap tightly and rest 30 minutes at room temperature. Resting relaxes gluten, which means easier rolling and less shrinking.
Step 2: Mix the filling
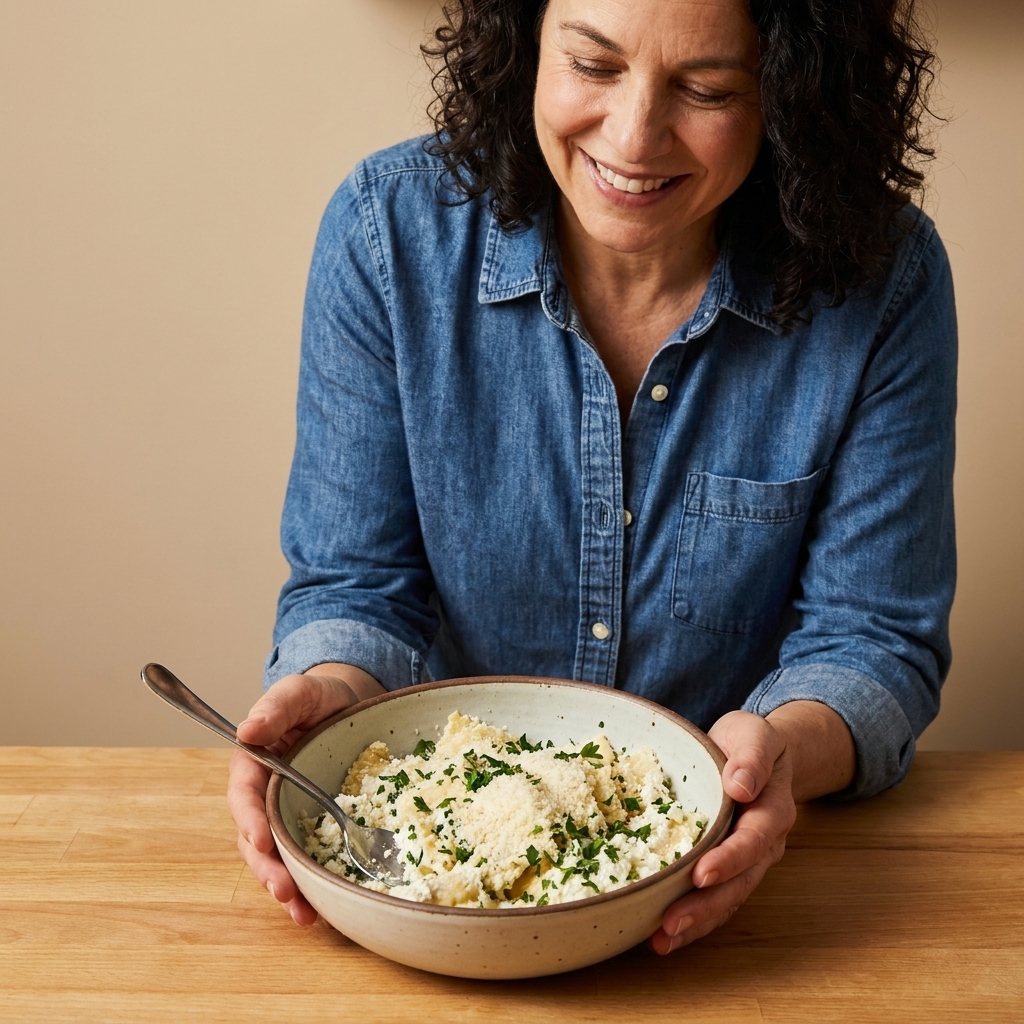
In a bowl, combine ricotta, Parmigiano, egg yolk, salt, pepper, and nutmeg if you’re using it. Stir until smooth and scoopable.
You want a filling that holds its shape. If you drag a spoon through it, the line should stay for a second before slowly relaxing. If it looks loose or shiny-wet, drain the ricotta in a fine-mesh strainer for 20 to 30 minutes, then mix again.
Make-ahead win: Filling can be made up to 2 days ahead and refrigerated. Cold filling is easier to portion neatly.
Step 3: Roll the sheets
Cut the rested dough into 4 pieces. Keep the pieces you’re not using wrapped so they don’t dry out.
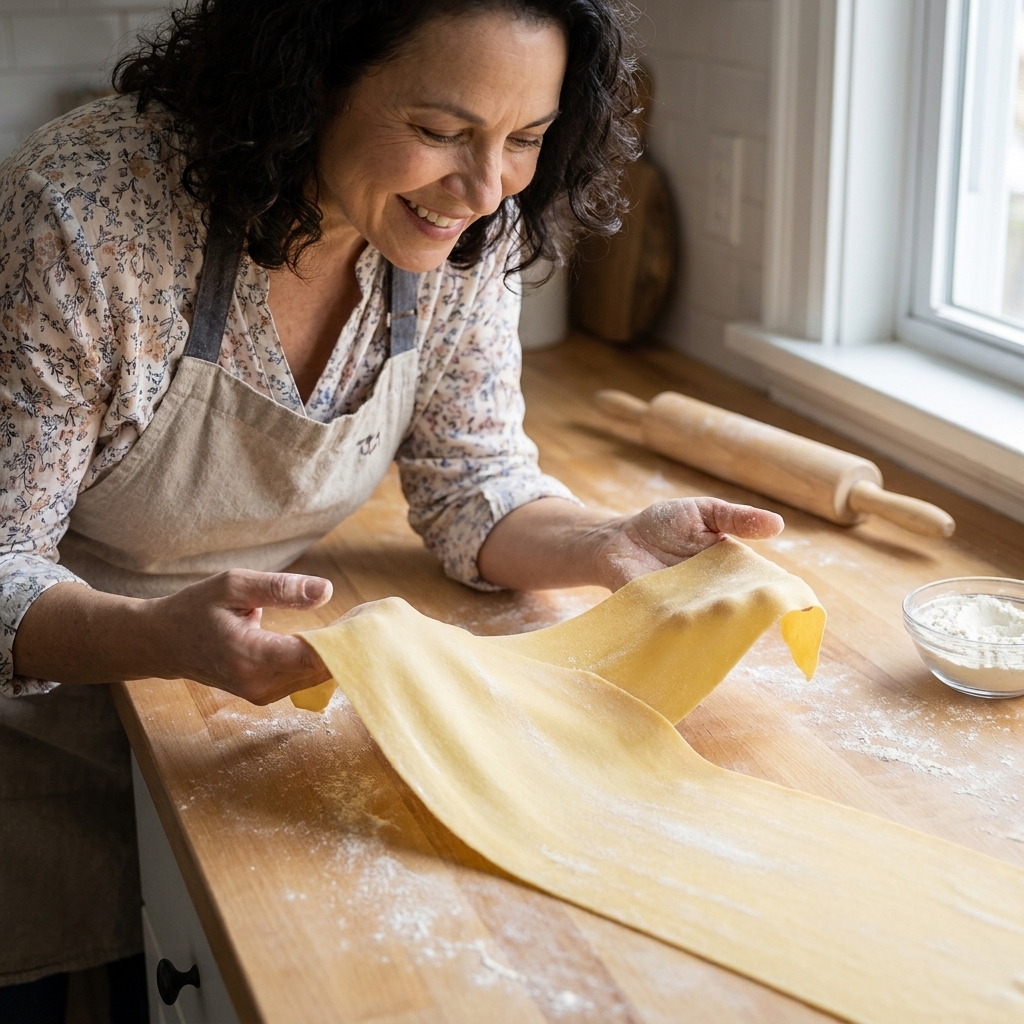
Flatten one piece into a rectangle. Run it through the widest setting of your pasta roller. Fold into thirds like a letter, then roll again. Do this 2 to 3 times to build a smooth, even sheet.
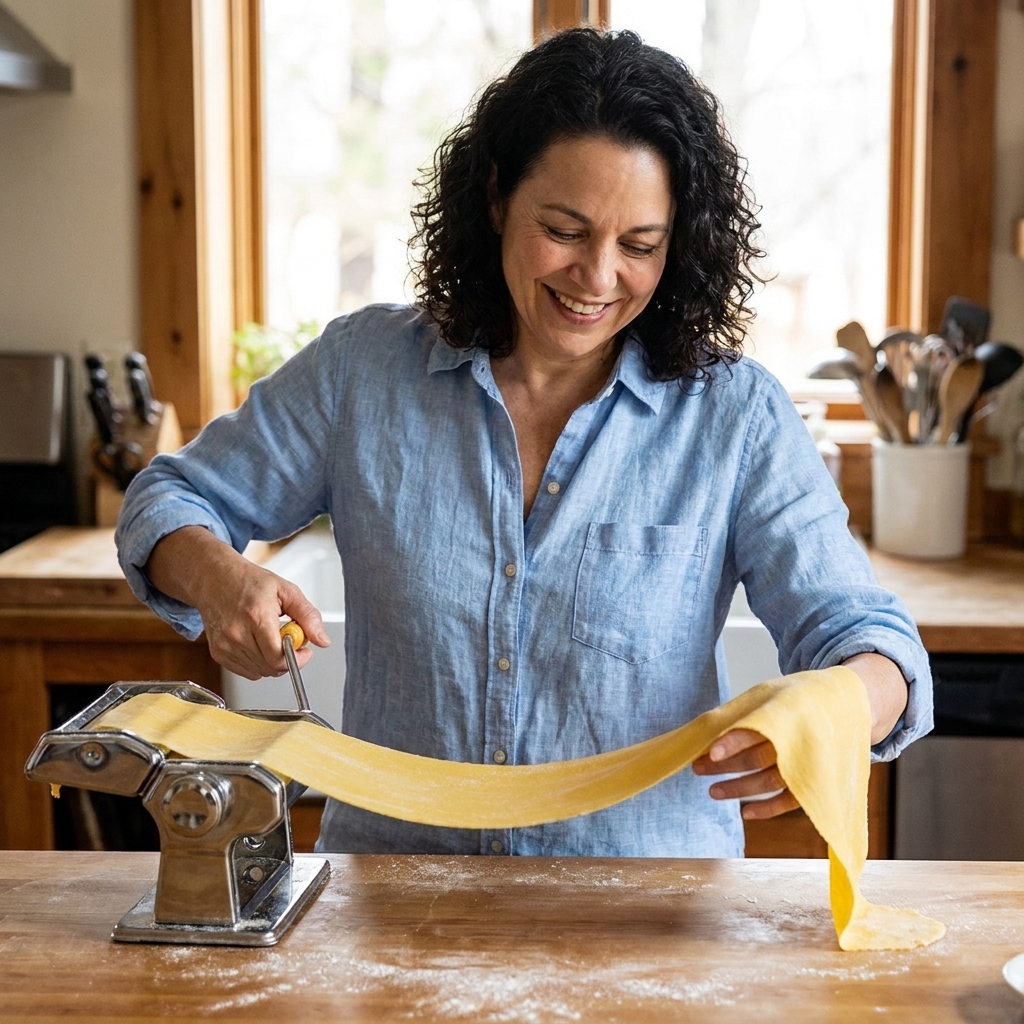
Now roll thinner, one setting at a time. Dust with flour only if the dough is sticking. For ravioli, I like the sheet thin enough that you can see the shadow of your hand behind it, but it still feels strong. On many machines that’s around setting 6 or 7 out of 9, but use your eyes and fingertips, not just the number.
Thickness test: If the sheet fights you and shrinks back, it needs a minute of rest. If it tears when you lift it, it’s too thin or too dry.
Step 4: Portion the filling
Lay one sheet on the counter. If your kitchen is warm, work in shorter lengths so the dough doesn’t dry.
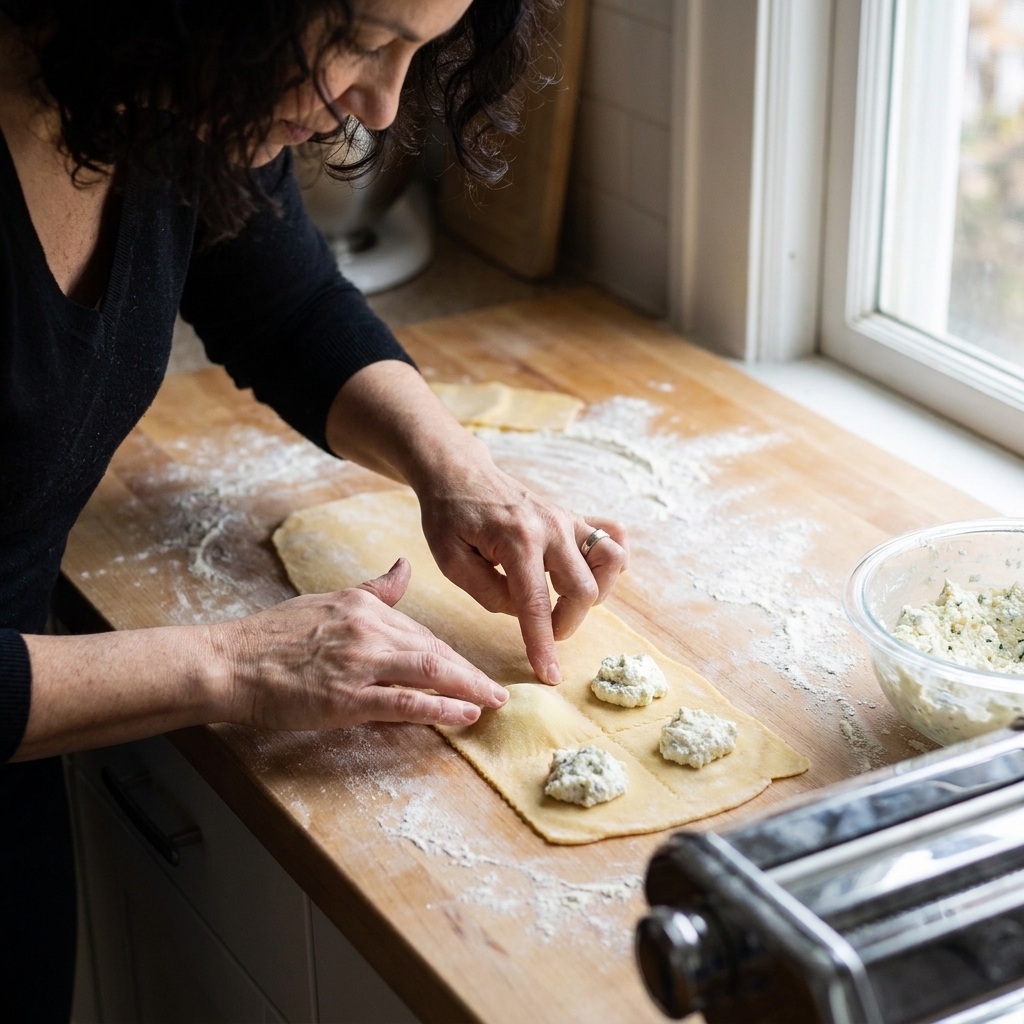
Place small mounds of filling about 1 inch apart, leaving a generous border around the edges. For beginner-friendly ravioli, aim for about 1 teaspoon filling per piece. It’ll feel like not enough. It’s enough.
If you’re using a piping bag, pipe small domes rather than tall peaks. Tall peaks trap air and make sealing harder.

Step 5: Seal well
Brush or dab a little water around the filling mounds. Don’t soak it. Too much water makes the dough gummy and slippery.
Lay a second pasta sheet over the top. Start sealing from the center of each mound outward. Use your fingertips to press the dough down around the filling, pushing out any air pockets as you go. Then press the borders firmly.
The flour problem: If you dusted heavily, the edges may be too floury to bond. If you see flour sitting on the seam, brush it away with a dry pastry brush before sealing, then use a tiny bit of water.
How it should feel: The sealed area should feel like one piece of dough, not two layers sliding around.
Little drying trick: As you work, keep finished ravioli lightly covered with a clean towel so the edges don’t crust over. Also skip heavy flour on top, since it can dry seams where you want them supple.
Step 6: Cut and crimp
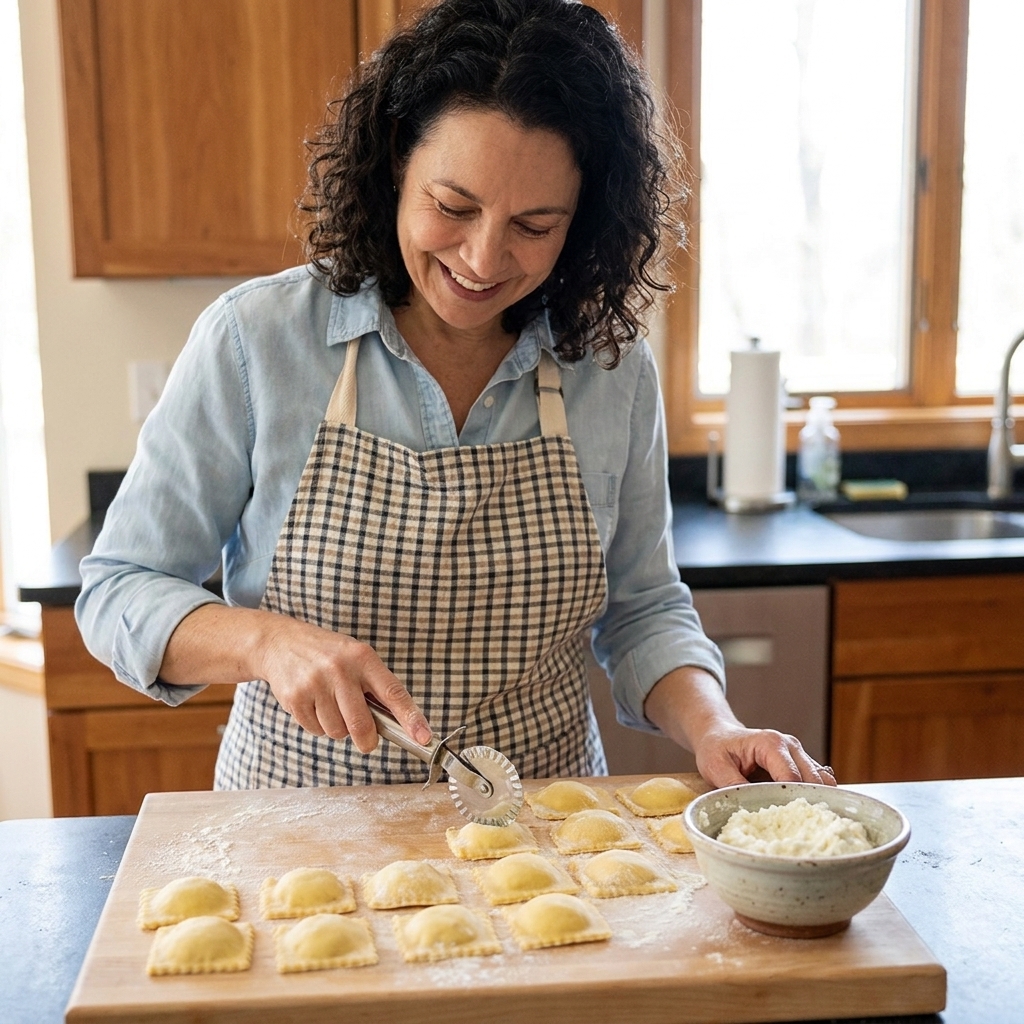
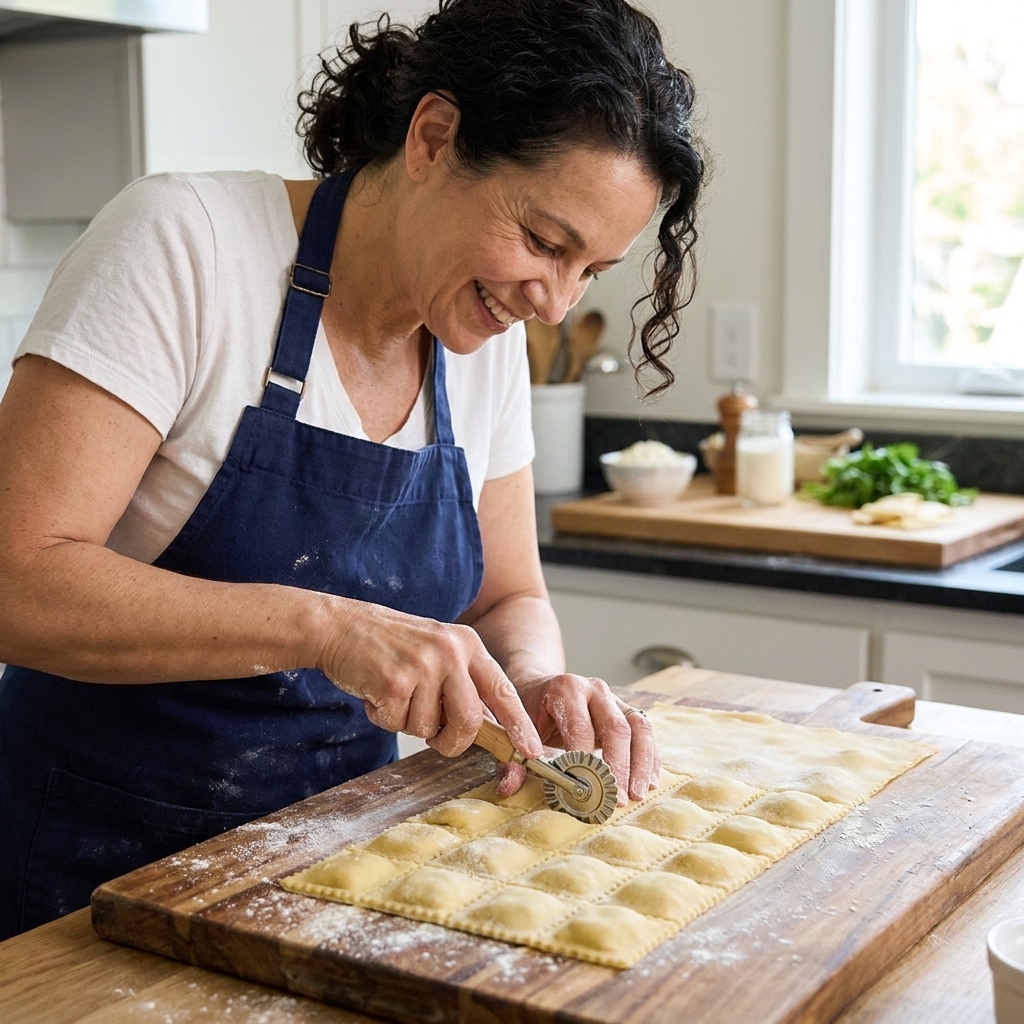
Once sealed, cut between the filling pockets with a knife or ravioli wheel. Give each ravioli a border of at least 1/4 inch, and for beginners, 3/8 inch is even safer. A wider border gives you insurance.
If you like, crimp the edges with the tines of a fork, pressing firmly but not tearing the dough. Crimping isn’t required if your seal is strong, but it’s comforting and it looks classic.
Transfer to a lightly floured sheet pan in a single layer. Dust with a little flour or fine semolina to prevent sticking.
Step 7: Dry briefly
Let the ravioli rest on the tray for 15 to 20 minutes before cooking. You’re not drying them into little rocks. You’re just letting the surface lose tackiness so the seams set and the pasta is less fragile in the pot.
If your kitchen is very dry, cover loosely with a clean towel to prevent the edges from cracking.
How to boil ravioli
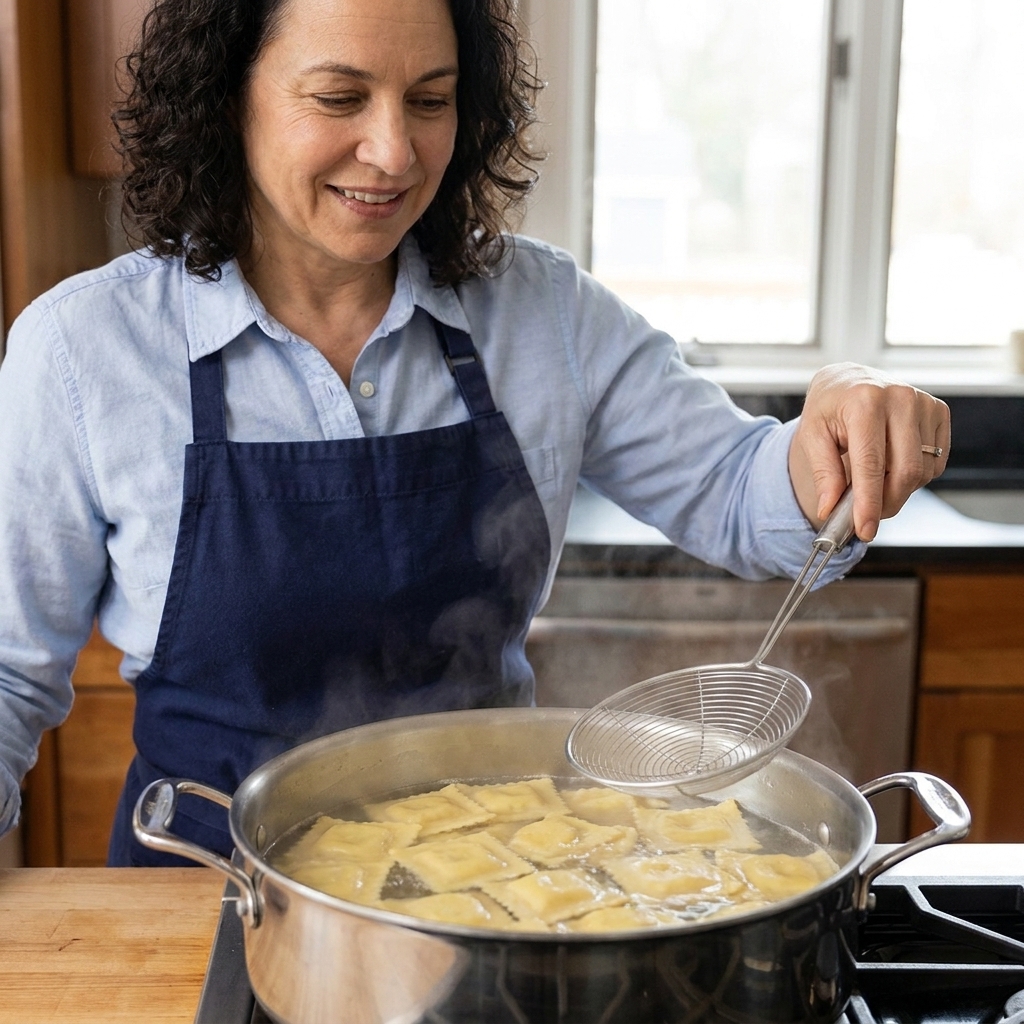
Bring a wide pot of water to a boil and salt it generously. If you want a beginner-proof number, aim for about 1 tablespoon of kosher salt per 4 quarts (16 cups) of water. Then lower the heat so it stays at a lively simmer, not a violent rolling boil.
- Slide ravioli in gently, a few at a time.
- Stir once, very gently, with a wooden spoon to prevent sticking to the bottom.
- Cook at a simmer until they float, then 1 to 2 minutes more. Floating is a helpful hint, not a perfect timer, so use your eyes too: the pasta should look slightly lighter and feel tender at the edges.
- When in doubt, lift one out and taste it. You’re looking for tender pasta and a filling that’s warmed through.
- Lift with a spider strainer or slotted spoon, letting water drain well.
Finish in sauce: Warm your sauce in a skillet. Add ravioli and a splash of pasta water, then spoon sauce over them for 30 to 60 seconds. This coats without rough stirring.
Simple sauces
- Butter and sage: Melt butter, add whole sage leaves, and let them sizzle until fragrant. Spoon over ravioli with Parmigiano.
- Quick tomato: Garlic warmed in olive oil, crushed tomatoes, salt, and basil. Simmer 15 minutes. If your ricotta is delicate, keep the sauce mellow rather than aggressively acidic.
- Lemon parm cream (fast): Warm a splash of cream with Parmigiano, black pepper, and lemon zest. Keep heat gentle so it stays smooth.

Troubleshooting
The dough keeps snapping back
It needs more rest. Cover it and wait 10 minutes, then continue. Also make sure you’re not over-flouring, which can stiffen the dough.
My edges won’t seal
Usually it’s flour on the dough. Brush edges clean, use a tiny dab of water, and press firmly. If the edge is dry and stiff, trim a thin strip off to expose fresh dough, then seal again.
I see air bubbles
Pop the bubble with a toothpick and press the area flat to reseal. Better to fix it now than in the pot.
Ravioli opened in the water
Most often it’s a wet filling or an overactive boil. Next time drain ricotta well, use less filling, and simmer instead of boiling aggressively. Also give yourself a wider border when cutting.
Ravioli stuck to the tray
Use a little more flour or fine semolina under them, and avoid letting them sit too long in a humid kitchen. If they do stick, slide a thin spatula under gently instead of pulling from the edge.
Make ahead and store
Refrigerate
Fresh ravioli is best the same day, but you can refrigerate it on a floured tray, covered, for up to 24 hours. For the best texture, try to cook it within 12 hours, especially with a soft cheese filling.
Freeze (best option)
Arrange ravioli in a single layer on a floured sheet pan and freeze until firm, about 45 to 60 minutes. Transfer to a freezer bag. Cook from frozen at a gentle simmer. Add 1 to 2 minutes to the cooking time.
Don’t thaw first
Thawing makes condensation, which means sticking and weaker seams. Straight from freezer to pot is the calmest path.
Beginner timeline
- 0:00 Mix dough
- 0:15 Knead, then wrap
- 0:15 to 0:45 Dough rests, mix filling
- 0:45 to 1:20 Roll sheets and form ravioli
- 1:20 to 1:40 Rest ravioli, heat water and sauce
- 1:40 Cook and eat
Put on music, pour yourself something cold, and remember: your first batch doesn’t need to be perfect to be delicious.
FAQ
Do I need egg wash to seal ravioli?
No. For pasta dough, a tiny bit of water works well. Some cooks like egg wash or egg white, but it isn’t necessary. If you overapply it, it can feel slippery and encourage over-wetting. The real key is pressing out the air and sealing clean dough to clean dough.
Why does my filling leak before cooking?
Usually the dough is too thin, the filling is too wet, or you used too much filling. Drain ricotta, use smaller portions, and roll to a thickness that feels supple but sturdy.
Can I make ravioli with a rolling pin?
Yes. Roll from the center outward, turning the dough often. Aim for an even sheet and don’t be afraid to let the dough rest if it fights you. Ravioli is forgiving if you keep the border wide.
How do I know ravioli is cooked?
They often float, the pasta looks slightly lighter, and the edges are tender when you pinch one gently with tongs. Still, the most reliable test is tasting one: the pasta should be tender and the filling should be hot all the way through.
A final promise
If your first ravioli are a little rustic, welcome to the club. Mine still are sometimes, especially on busy nights. Focus on these three things: drained filling, no air pockets, and a gentle simmer. Do that, and your ravioli will stay sealed, stay tender, and make your kitchen smell like Sunday.