There is a particular kind of quiet pride that comes from turning two simple ingredients into silky, golden pasta. In my family, fresh egg dough was Sunday-dinner magic: a floury table, a fork clinking against a bowl of eggs, and hands that somehow knew when the dough had “had enough.” If you have never made pasta from scratch, this is the dough to start with. It is forgiving, it teaches you what good dough feels like, and once you get it, you will carry that skill forever.
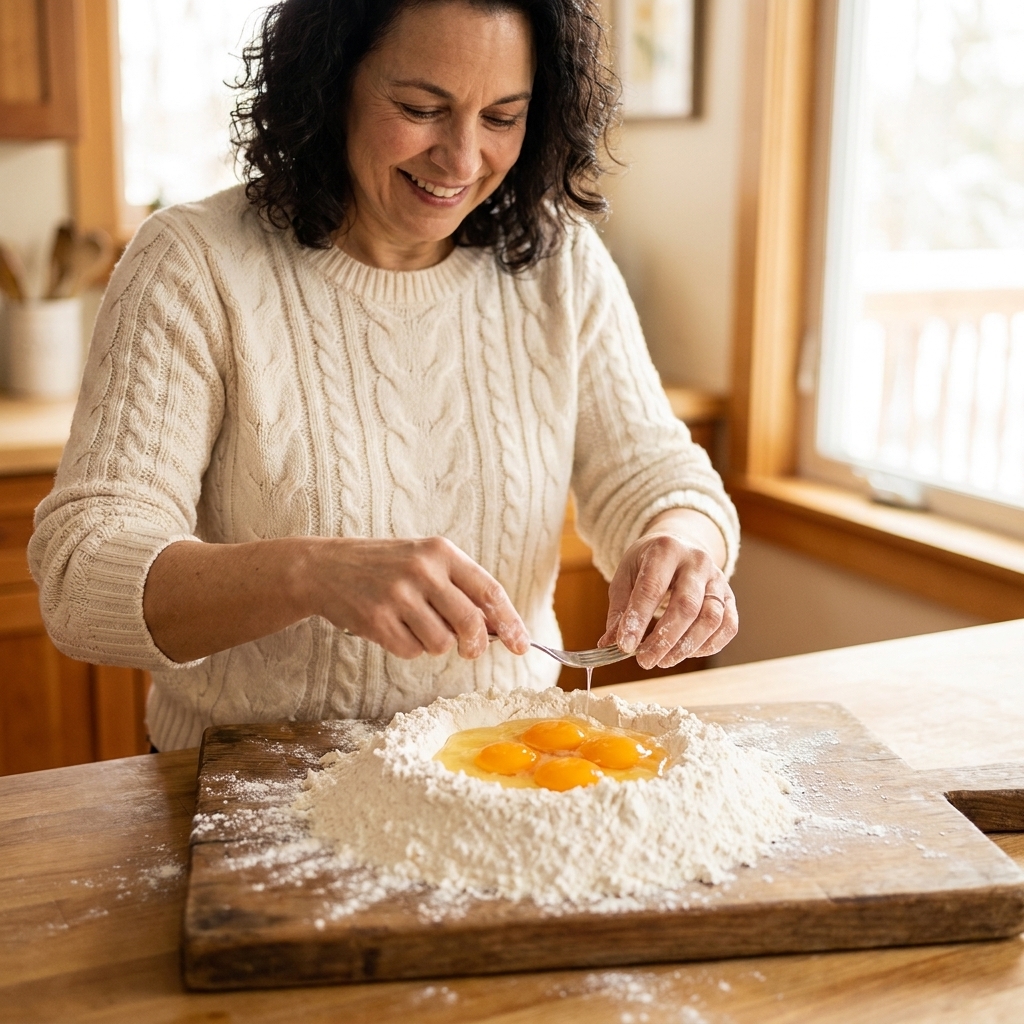
The only two ingredients
Classic egg pasta dough is simply flour and eggs. Salt, olive oil, and water are sometimes added, but you truly do not need them to make beautiful pasta.
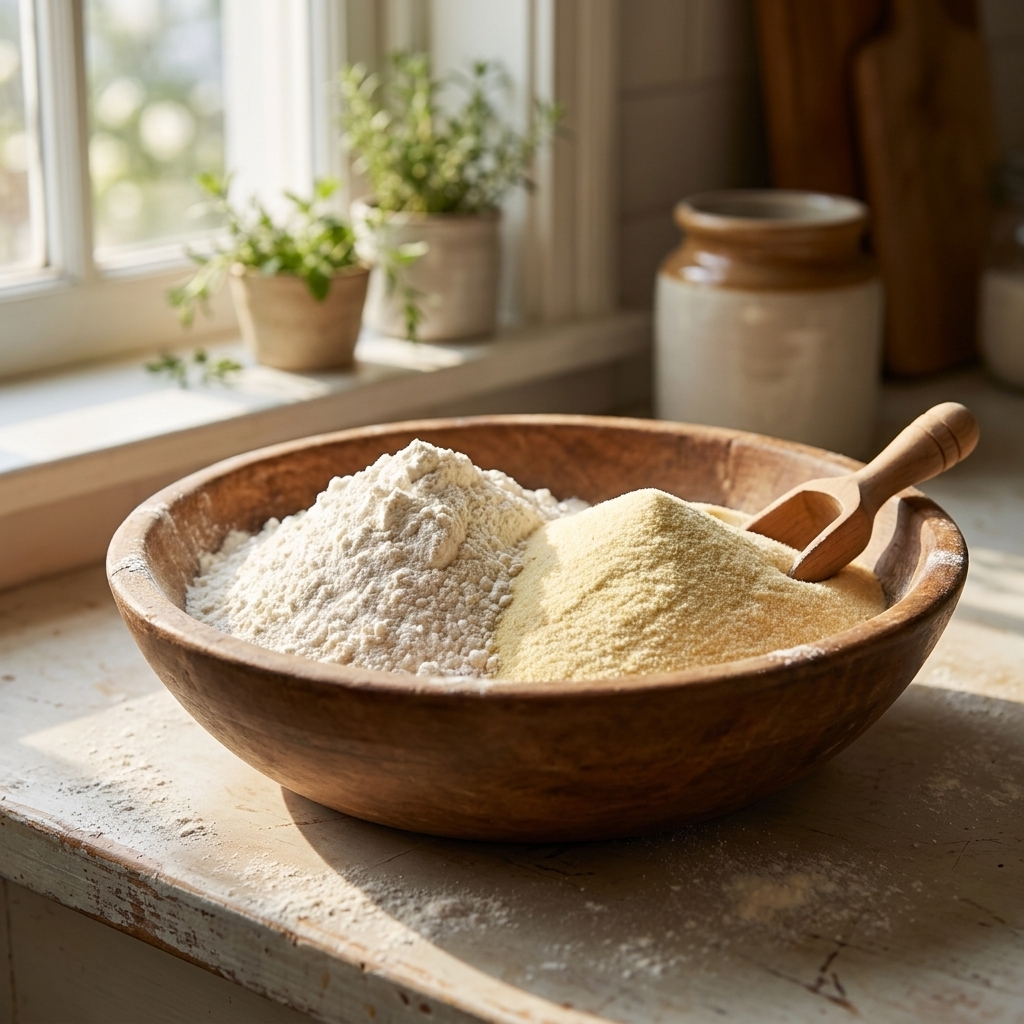
- Flour: Use 00 flour for the most tender, smooth dough. If you cannot find it, all-purpose flour works very well for beginners.
- Eggs: Large eggs are the standard. Fresh, good-quality eggs give you a richer color and a more supple dough.
My favorite beginner ratio: about 100 grams flour per 1 large egg. This scales easily and helps you stay consistent.
A quick reality check: eggs vary. A “large” egg is usually around 50 grams out of the shell, but it can swing. Use the ratio as your baseline, then adjust by feel.
Equipment you actually need
You can make egg pasta dough with nothing fancy. Here is the short list.
- Kitchen scale (strongly recommended for consistent results)
- Fork and your hands
- Clean work surface (wood is lovely, but any counter works)
- Bench scraper (helpful, not required)
- Plastic wrap or a bowl to cover the dough while it rests
- Rolling pin, or a hand-crank pasta machine if you have one
How much dough to make
Fresh egg pasta is best made in amounts you can comfortably knead and roll. Here is a simple guide.
| Servings | Flour | Eggs |
|---|---|---|
| 2 | 200 g | 2 large |
| 4 | 400 g | 4 large |
| 6 | 600 g | 6 large |
Note: Egg size and humidity vary. Use the ratio as your north star, then adjust with tiny amounts of flour or a few drops of water as needed.
Step-by-step: fresh egg pasta dough
1) Make a flour well
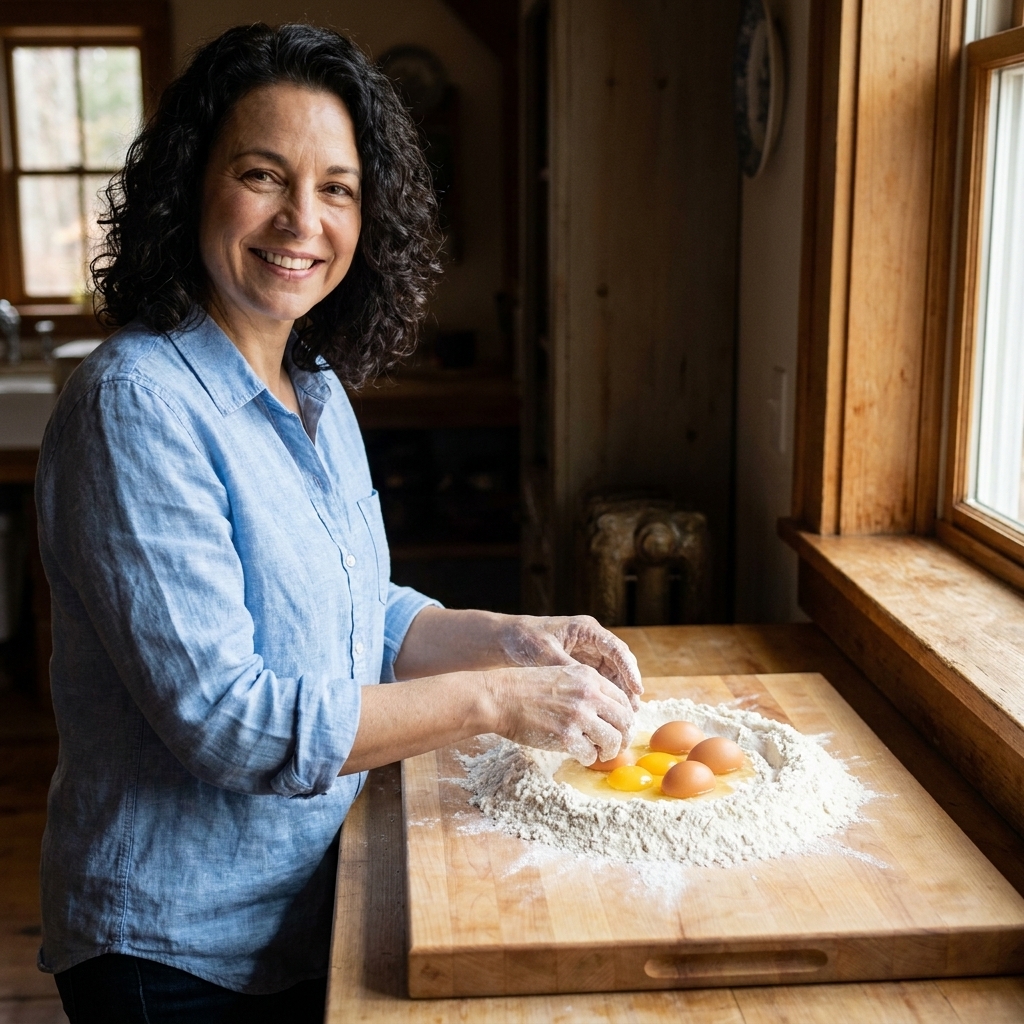
Measure your flour onto the counter and mound it up. Use your fingers to create a wide well in the center, like a little flour volcano. Make the walls thicker than you think you need, especially if this is your first time.
2) Add the eggs and start mixing
Crack the eggs into the well. Use a fork to beat the eggs gently, then start pulling in flour from the inner walls. Work slowly at first. If the egg threatens to escape, use your other hand or a bench scraper to nudge flour back in and rebuild the wall.
Sensory cue: At the beginning it looks like a mess. That is normal. Keep going until you have a thick, custardy paste that begins to turn shaggy as it grabs more flour.
3) Bring it together into a shaggy mass
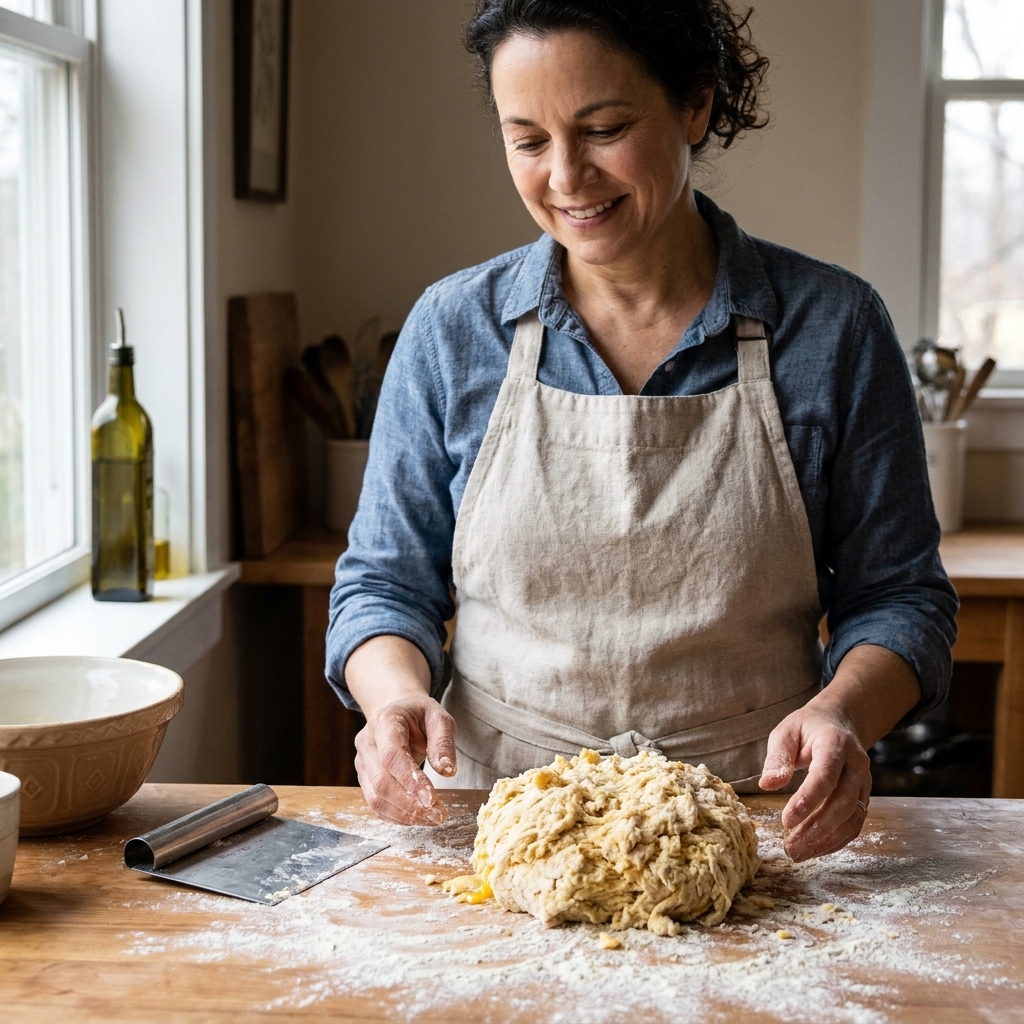
Once the center is thick enough that it is no longer runny, switch from fork to hands. Fold and press, scraping up any dry bits. You are aiming for a rough, shaggy ball. If there is a little dry flour left on the counter, that is fine.
4) Knead until smooth and elastic
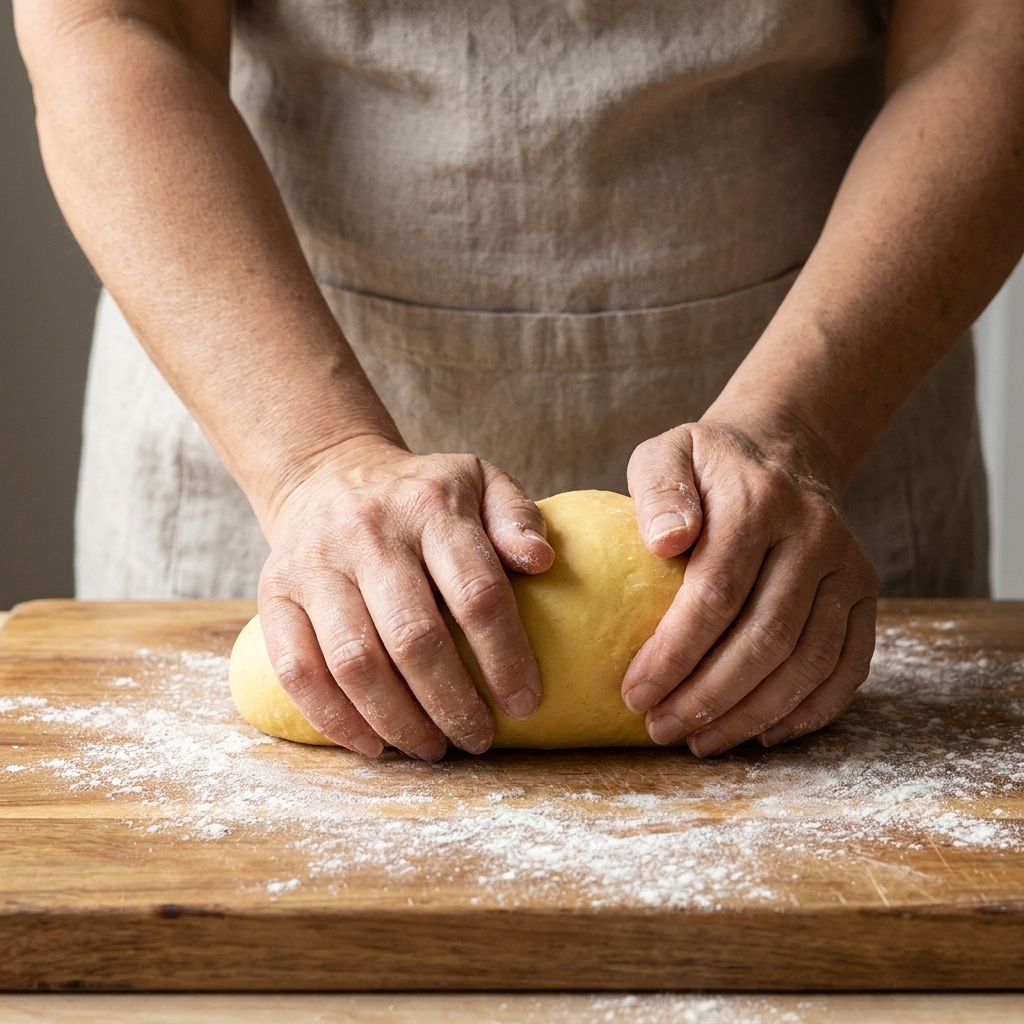
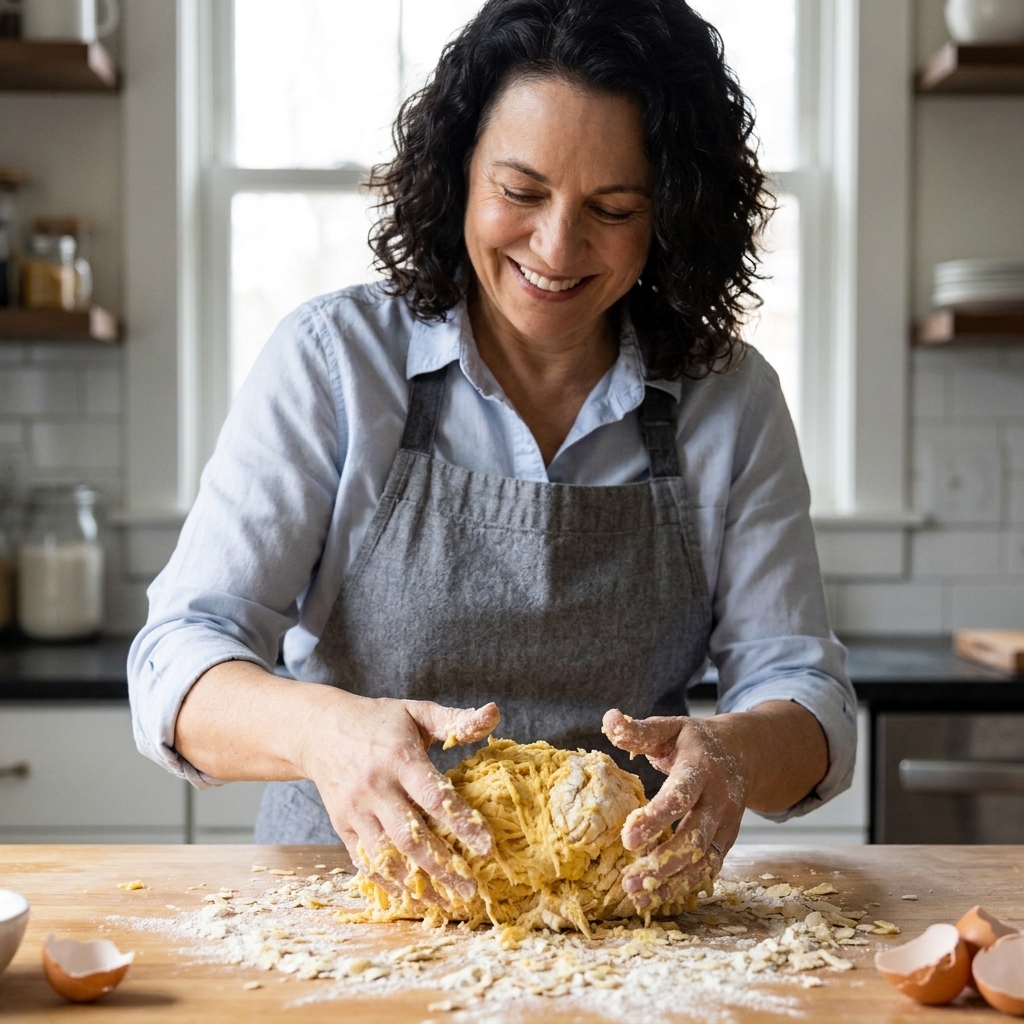
Now the transformation happens. Knead with the heel of your hand: push the dough away, fold it back over itself, rotate a quarter turn, repeat.
- Time: 8 to 12 minutes by hand
- Goal: smooth, elastic, and no longer sticky
Sensory cue: At first it may feel tight and a little rough, almost like it is resisting you. Keep kneading. When it is ready, the surface will look satiny, the dough will feel firm but pliable, and it will spring back slowly when you press a fingertip into it.
Another simple check: Slice the dough ball in half. If you see lots of jagged, chalky-looking bits, it needs more kneading. When it is well-kneaded, the cut surface looks more even and slightly glossy.
If the dough sticks to the counter: Dust the counter very lightly, then keep kneading. Do not bury the dough in flour, or it will turn dry.
5) Rest the dough (do not skip)
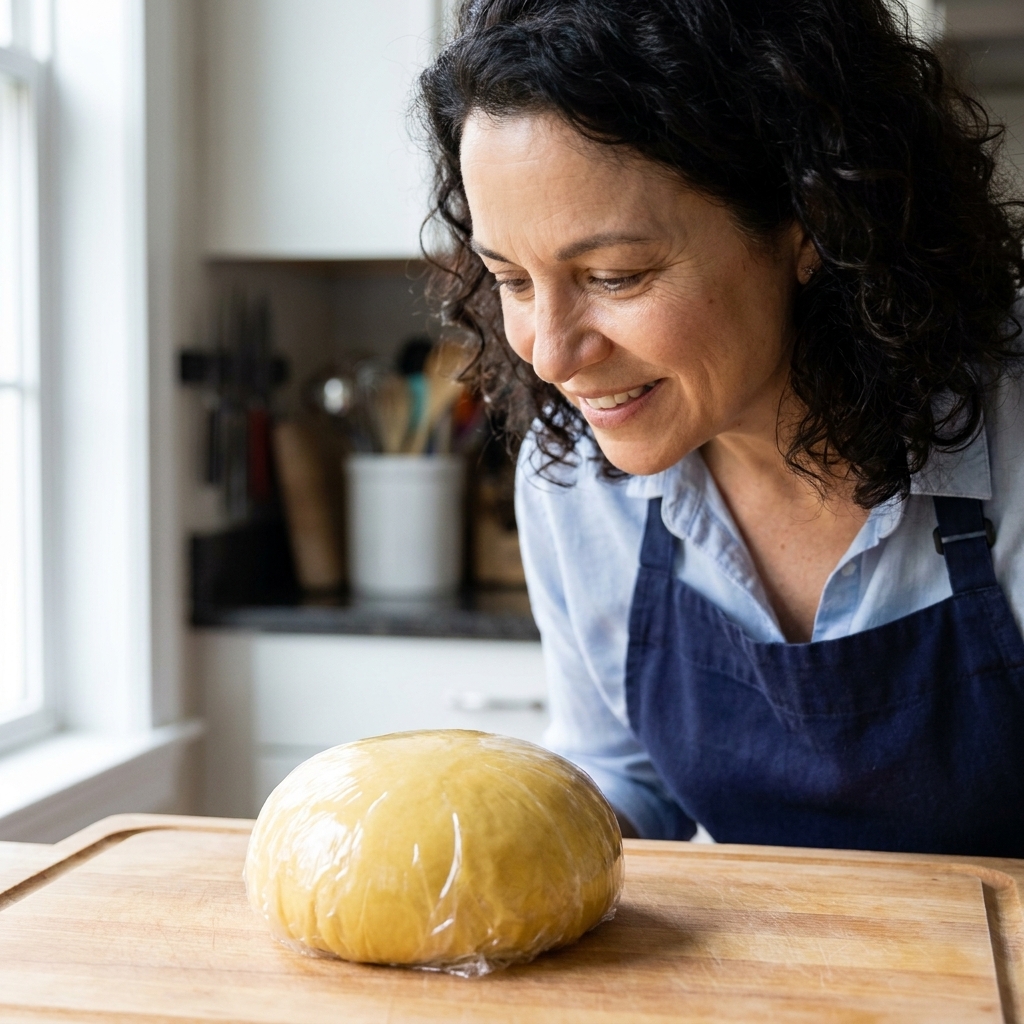
Wrap the dough tightly in plastic wrap, or cover it with an upside-down bowl. Let it rest at room temperature for 30 minutes (up to 2 hours).
This rest matters. It lets the flour fully hydrate and the gluten relax so the dough rolls out smoothly instead of shrinking back.
Rolling the dough
After resting, your dough should feel softer and more workable. If it feels a bit tacky, dust your hands lightly and proceed. You can roll by hand or with a pasta machine.
Small but important: Pasta sheets dry quickly. Keep the dough you are not rolling covered, and if you are making ravioli or working slowly, drape finished sheets with a clean towel or plastic wrap.
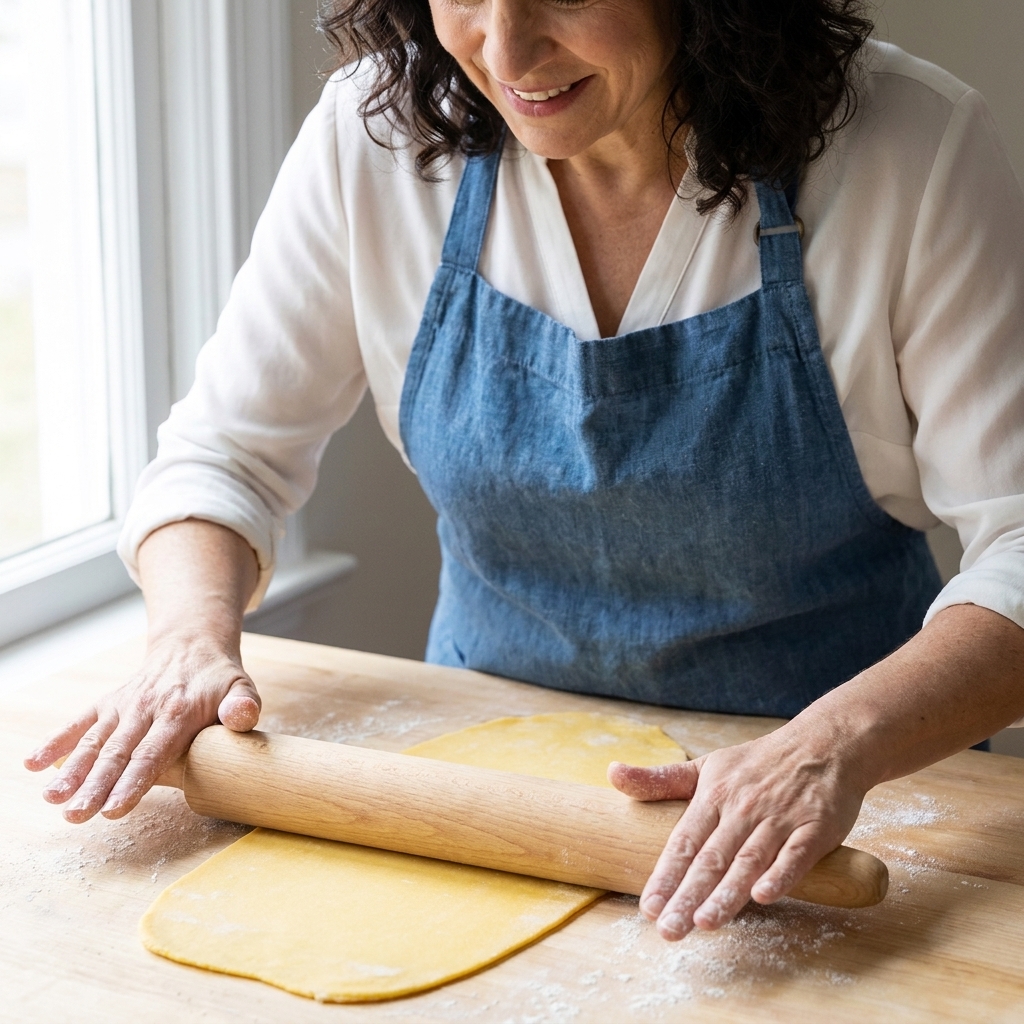
Rolling by hand (rolling pin)
- Cut the dough into 2 to 4 pieces. Keep the pieces you are not using covered.
- Flatten one piece into a thick disk.
- Roll from the center outward, turning the dough often, dusting lightly as needed.
- Keep rolling until the sheet is thin enough that you can see your hand shadow through it.
Tip: If the dough keeps snapping back, let it rest on the counter for 5 to 10 minutes, then roll again. That little pause works wonders.
Rolling with a pasta machine
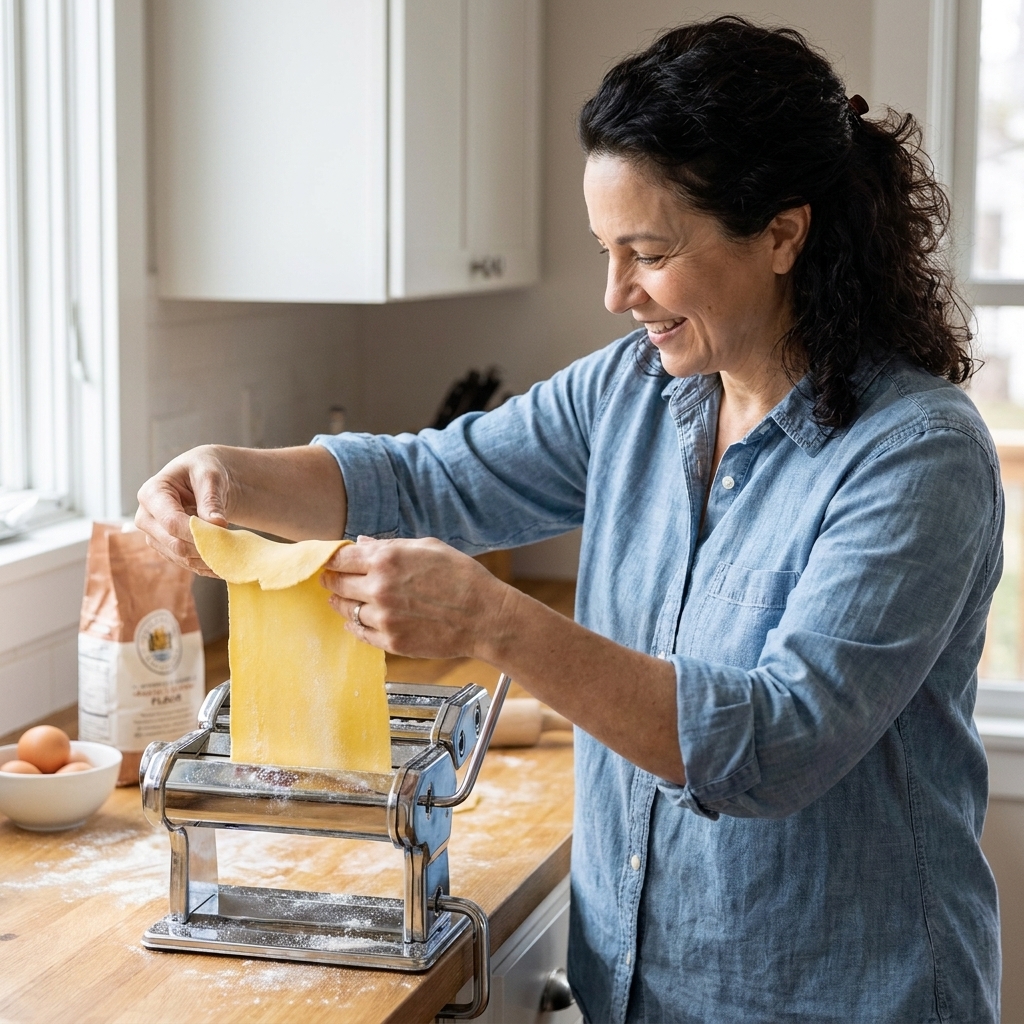
- Cut the dough into 4 pieces. Flatten one piece into a thick rectangle.
- Set the rollers to the widest setting and pass the dough through.
- Fold the sheet into thirds like a letter, then pass it through again. Repeat 2 to 3 times to smooth the sheet.
- Continue passing the sheet through, narrowing the setting one notch at a time.
- Stop at your preferred thickness. On many Marcato-style machines, settings 5 to 7 are a good range for tagliatelle and fettuccine, but let your eyes guide you. The sheet should look smooth, feel supple, and be thin enough to see a faint shadow through it.
Cutting and shaping ideas
This egg dough is perfect for long noodles and filled pasta. Once you have sheets, you have options.
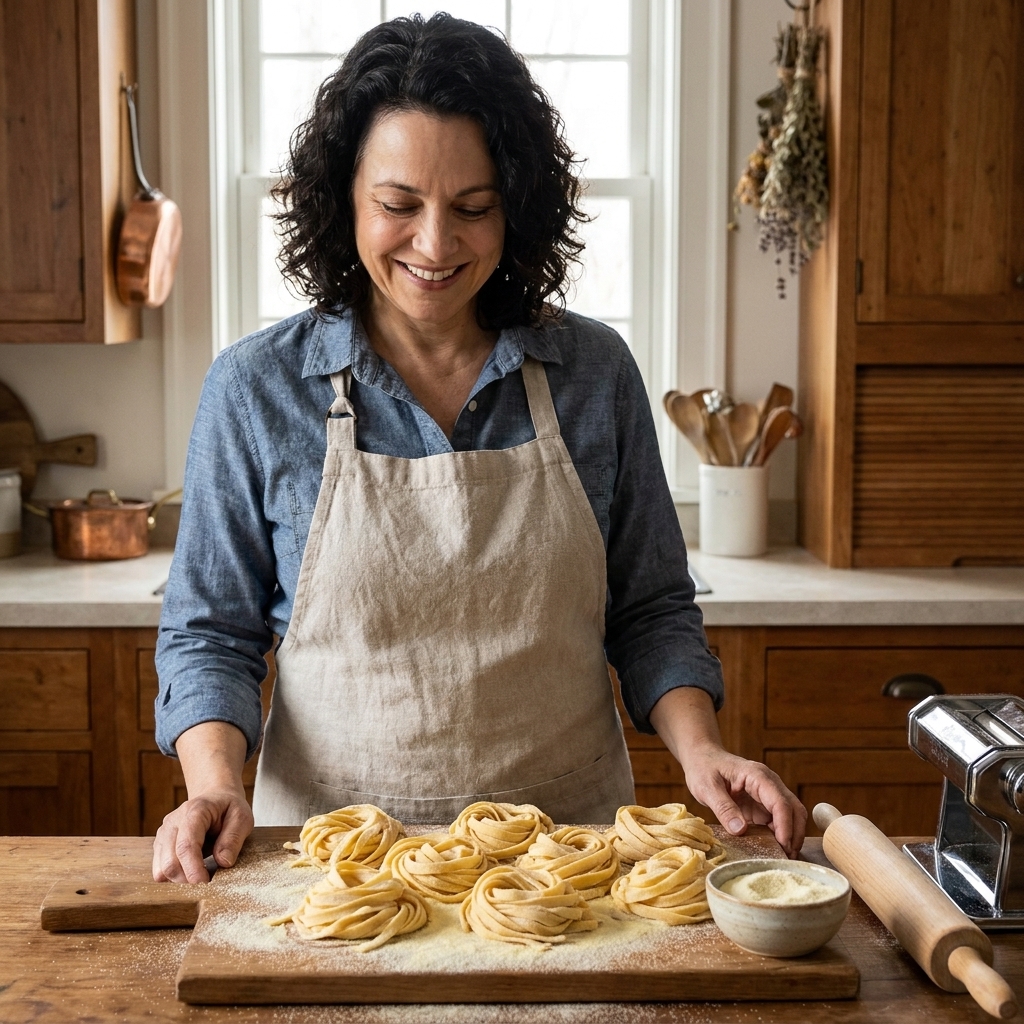
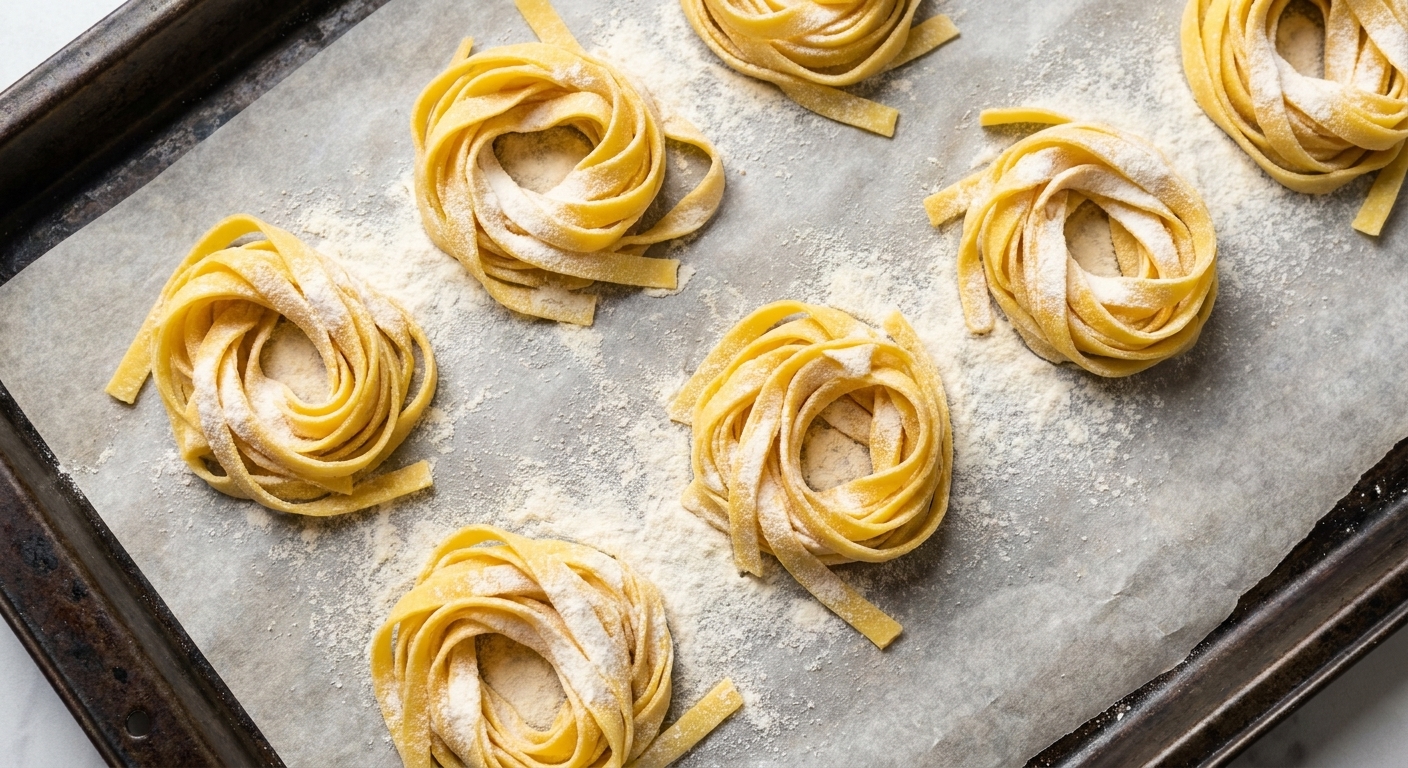
- Tagliatelle or fettuccine: Lightly flour the sheet, fold loosely, then slice into ribbons.
- Pappardelle: Cut wide ribbons with a knife or pastry wheel.
- Lasagna sheets: Trim into rectangles. Fresh sheets often do not need pre-boiling if they are rolled fairly thin and your sauce is loose enough to hydrate them in the oven. If your sheets are thicker, your sauce is on the dry side, or you like a very tender bite, par-boil the sheets for 30 to 60 seconds, then lay them on a towel to dry before assembling.
- Ravioli: Spoon filling onto one sheet, cover with another, press out air, then cut. Keep the sheets you are not using covered so the edges stay pliable and seal well.
Flour note: For dusting sheets and cut noodles, I like a light sprinkle of semolina or rice flour to prevent sticking without making the pasta heavy.
How to cook fresh egg pasta
Fresh pasta cooks fast. Have your sauce ready and warm before the pasta goes into the water.
- Bring a large pot of water to a rolling boil and salt it generously.
- Add the fresh pasta and stir gently right away.
- Cook until just tender: usually 1 to 3 minutes for thin ribbons, depending on thickness.
- Transfer pasta directly to the sauce with tongs or a spider. Add a splash of pasta water if needed to help the sauce cling.
Sensory cue: Fresh pasta goes from underdone to perfect quickly. Start tasting early, and pull it when it is tender but still has a little bite.
Common dough problems (and the fixes)
The dough feels too dry and crumbly
This usually means your eggs were smaller or your flour was extra thirsty. Keep kneading for a minute first, because time and warmth help. If it still will not come together, wet your hands lightly and continue kneading, repeating as needed. Avoid adding a big splash of water all at once.
The dough is sticky
Dust the counter and your hands with a small amount of flour and keep kneading. Sticky dough often becomes smooth and manageable after a few more minutes. If it is still very sticky, add flour a teaspoon at a time.
The dough is tight and keeps shrinking when I roll it
It needs more rest. Cover it and give it 10 to 15 minutes, then try again. If you are rolling by machine, also make sure you are not skipping thickness settings too quickly.
The dough has little dry cracks around the edges
That is a sign it is on the dry side. Let it rest a full 30 minutes, then knead briefly before rolling. Next time, hold back a small portion of the flour at the start, then add only what the dough asks for.
Make-ahead, storage, and freezing
Resting dough ahead
You can refrigerate wrapped dough for up to 24 hours. Bring it back to room temperature for about 30 to 60 minutes before rolling, so it does not feel stiff.
Storing cut fresh pasta
- Short term: Dust lightly with flour, nest into little bundles, and keep on a tray for up to a few hours in a cool kitchen. If your kitchen is warm, cover and refrigerate sooner so it stays in good shape.
- Refrigerator: It can clump or discolor if held too long, so I prefer using it the same day.
Freezing
Freeze cut noodles or shaped ravioli in a single layer on a baking sheet until firm, then transfer to a freezer bag.
- Noodles: Cook from frozen, adding about 30 to 90 seconds, then start tasting.
- Filled pasta: Cook from frozen and expect it to take a bit longer, often 1 to 3 minutes extra depending on size and filling. Start checking early and pull them as soon as the pasta is tender and the filling is hot.
Flour choices: 00 vs all-purpose
If you want the simplest answer: use what you have, then learn the feel.
- 00 flour gives a softer, silkier dough and a very smooth finished noodle.
- All-purpose flour makes a slightly more robust dough that is still tender, and it is easier to find.
Either one can make pasta that tastes like you spent the whole afternoon in the kitchen, even if you only had an hour.
My best beginner tip
Do not chase perfection on minute one. The dough will look messy, then shaggy, then too rough, then suddenly it becomes smooth and alive under your hands. Trust the process, keep your flour additions small, and give the dough time to rest. Fresh pasta rewards patience more than it rewards fancy tools.
FAQ
Do I need to use a pasta machine?
No. A rolling pin works. It takes a little more time and muscle, but it is absolutely doable, and it teaches you a lot about thickness and texture.
Should I add salt to the dough?
I usually do not. I salt the cooking water generously instead, which seasons the pasta evenly without tightening the dough.
Can I make this dough in a stand mixer or food processor?
You can, especially once you understand the texture you are aiming for. For beginners, I truly recommend making it by hand at least once so you learn what “too dry” and “just right” feel like.
Why is my pasta tearing when I roll it?
Most commonly, it needs more kneading (gluten not developed) or more rest (gluten too tight). Knead until smooth, rest 30 minutes, and roll gradually.
How thin should I roll the sheets?
For ribbon pasta, aim for thin enough to see a shadow of your hand through the dough. For ravioli, go a touch thinner than you think, because the filling adds thickness.